November was a crazy month. I spent another week at the North American Saddlery School, stopped by the Equine Affaire and had several saddle fits and flockings to do! I really enjoy my week mingling with other fitters, saddlers and the Master Saddlers from England.
There are several different course offerings and this session I opted for the saddle course which involves making a saddle from the tree up. The saddle tree is provided and then we must cut and sew and stuff the rest. Master saddlers are often expected to complete a saddle in a day. In reality, some of that is machine stitched or machine cut depending on the company. However, they teach us to cut each piece by hand and to hand stitch much of it. Some of it will get machine stitched when I get much further along on the saddle.
What is so interesting about learning to make a saddle from the ground up is the detail in each piece. If your pieces aren’t symmetrical or one pulls the stitching a little tighter here or there, the saddle sits unevenly. It certainly brings to mind the importance of standards such as the Society of Master Saddles’ specifications so that the saddles are uniform. They can be off slightly and occasionally there might be a small mistake that can be fixed but a certain standard or quality is expected.
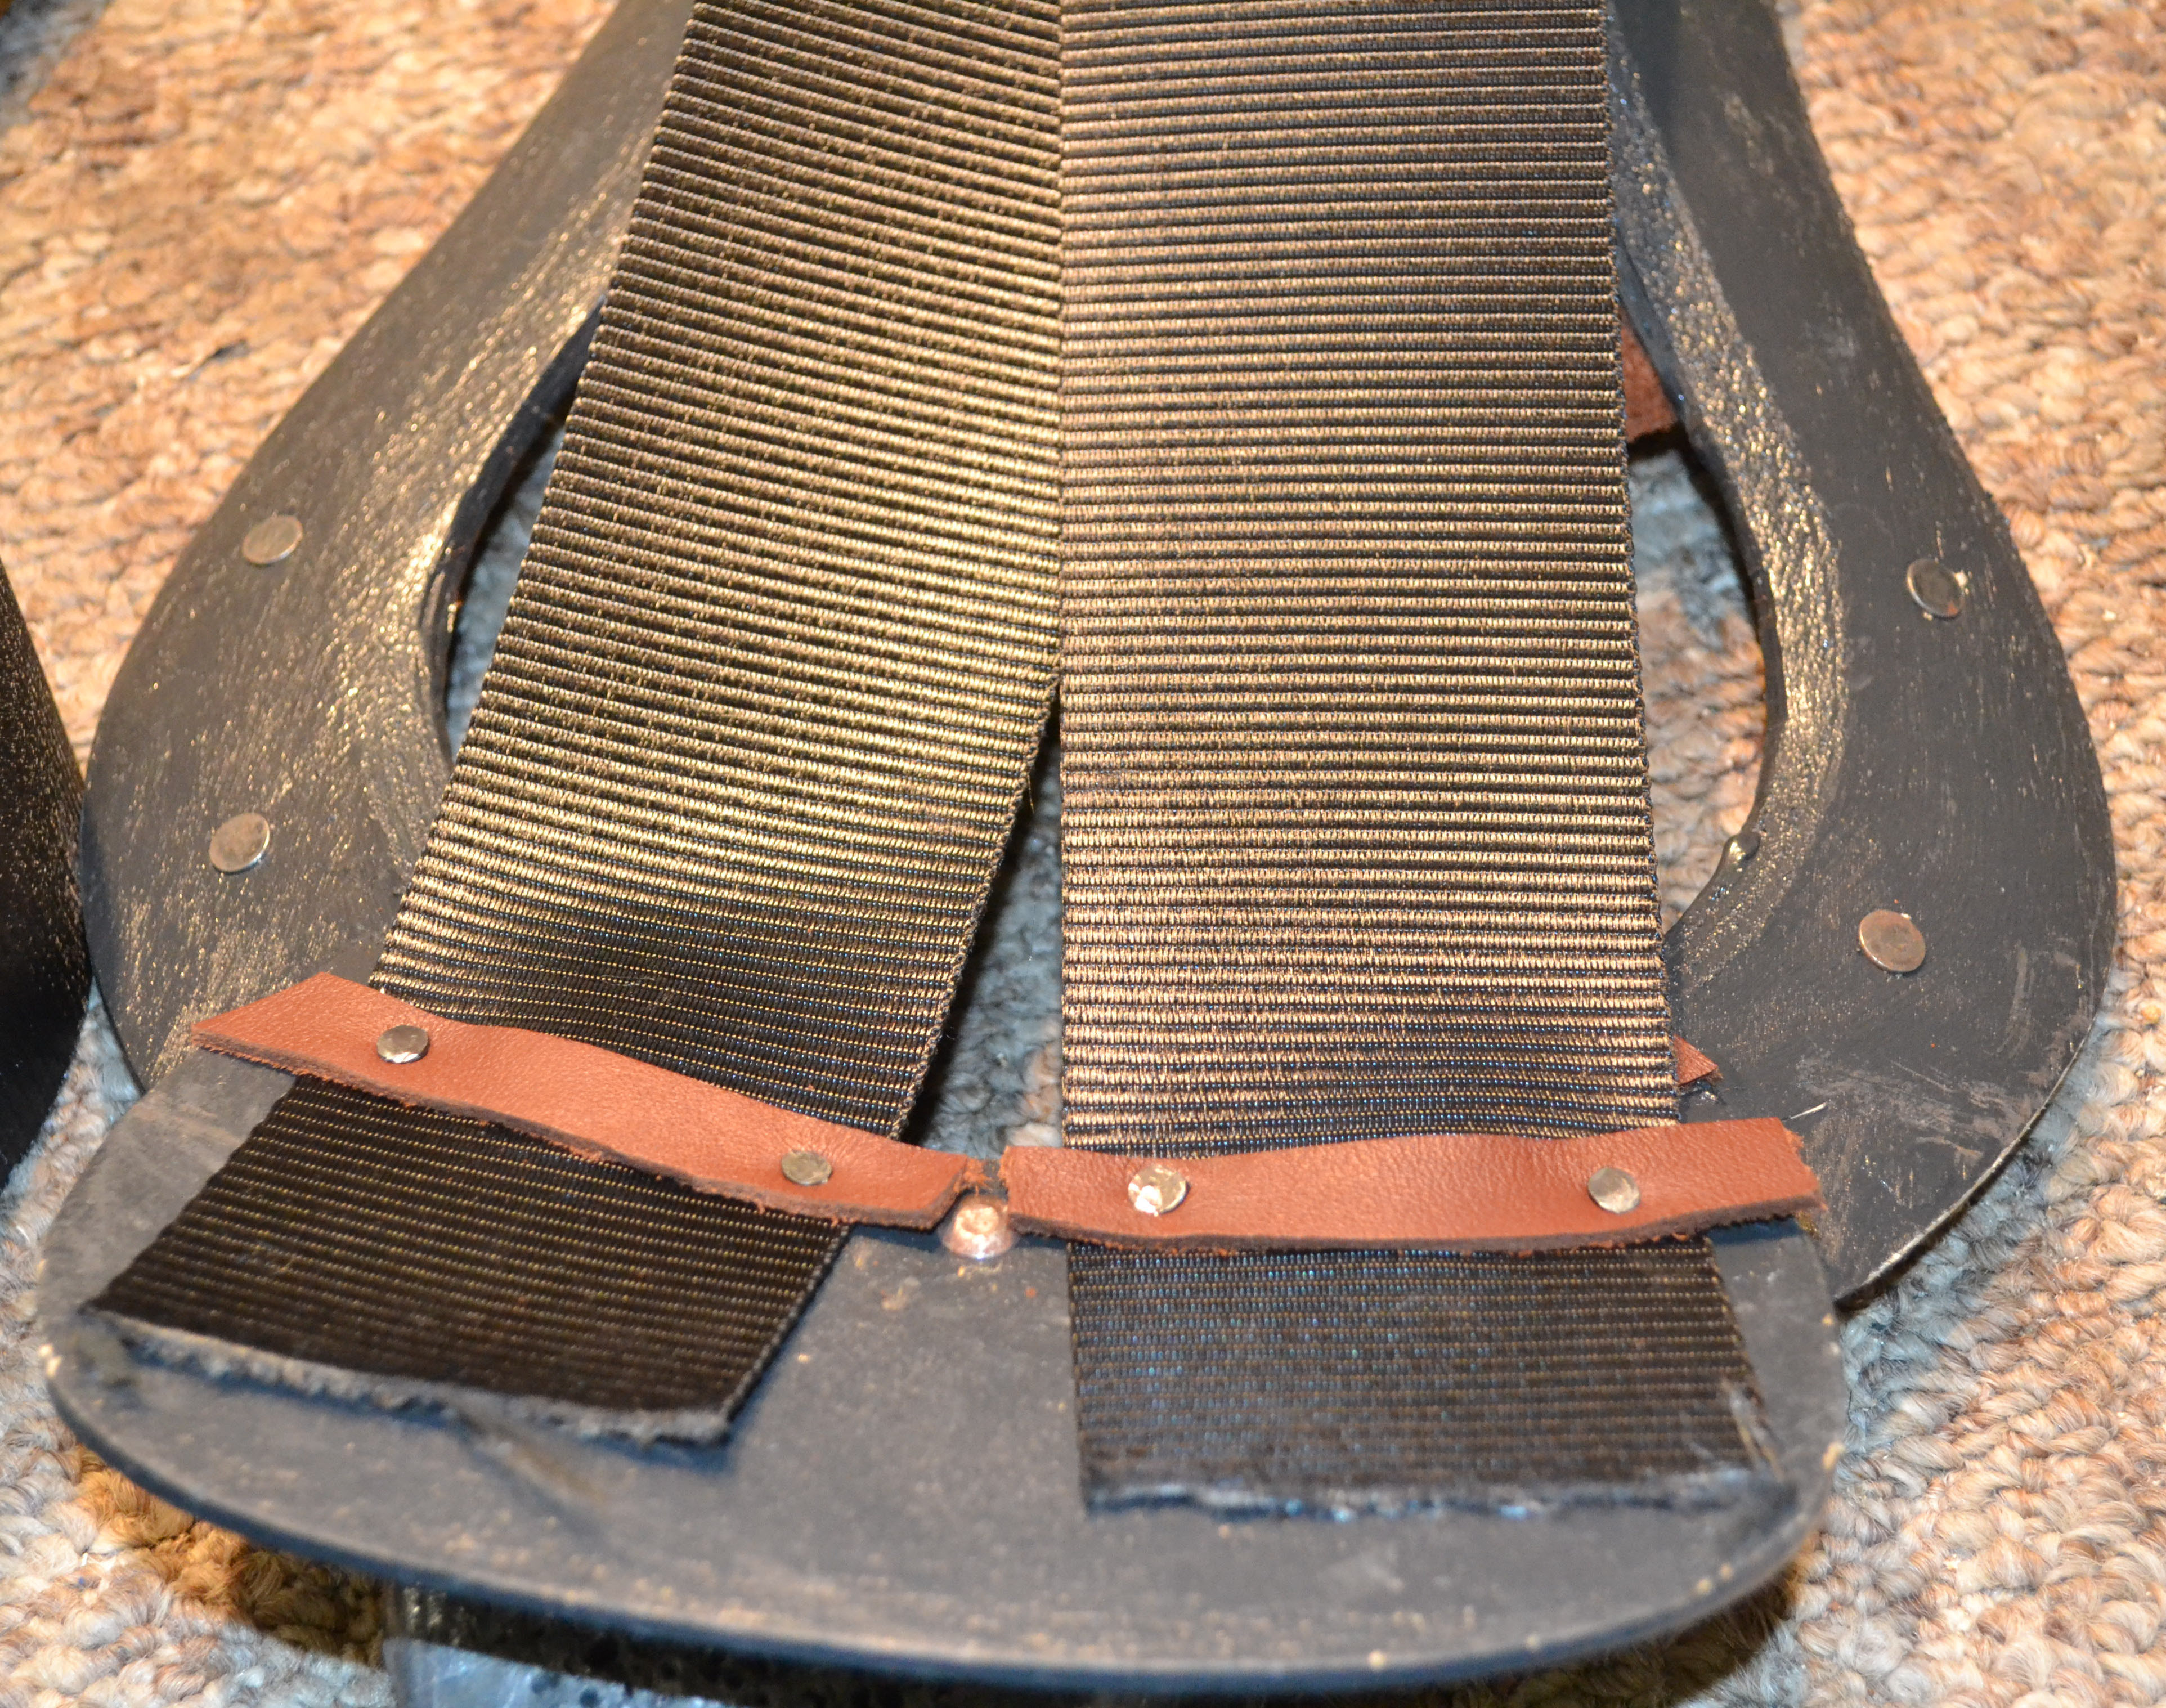
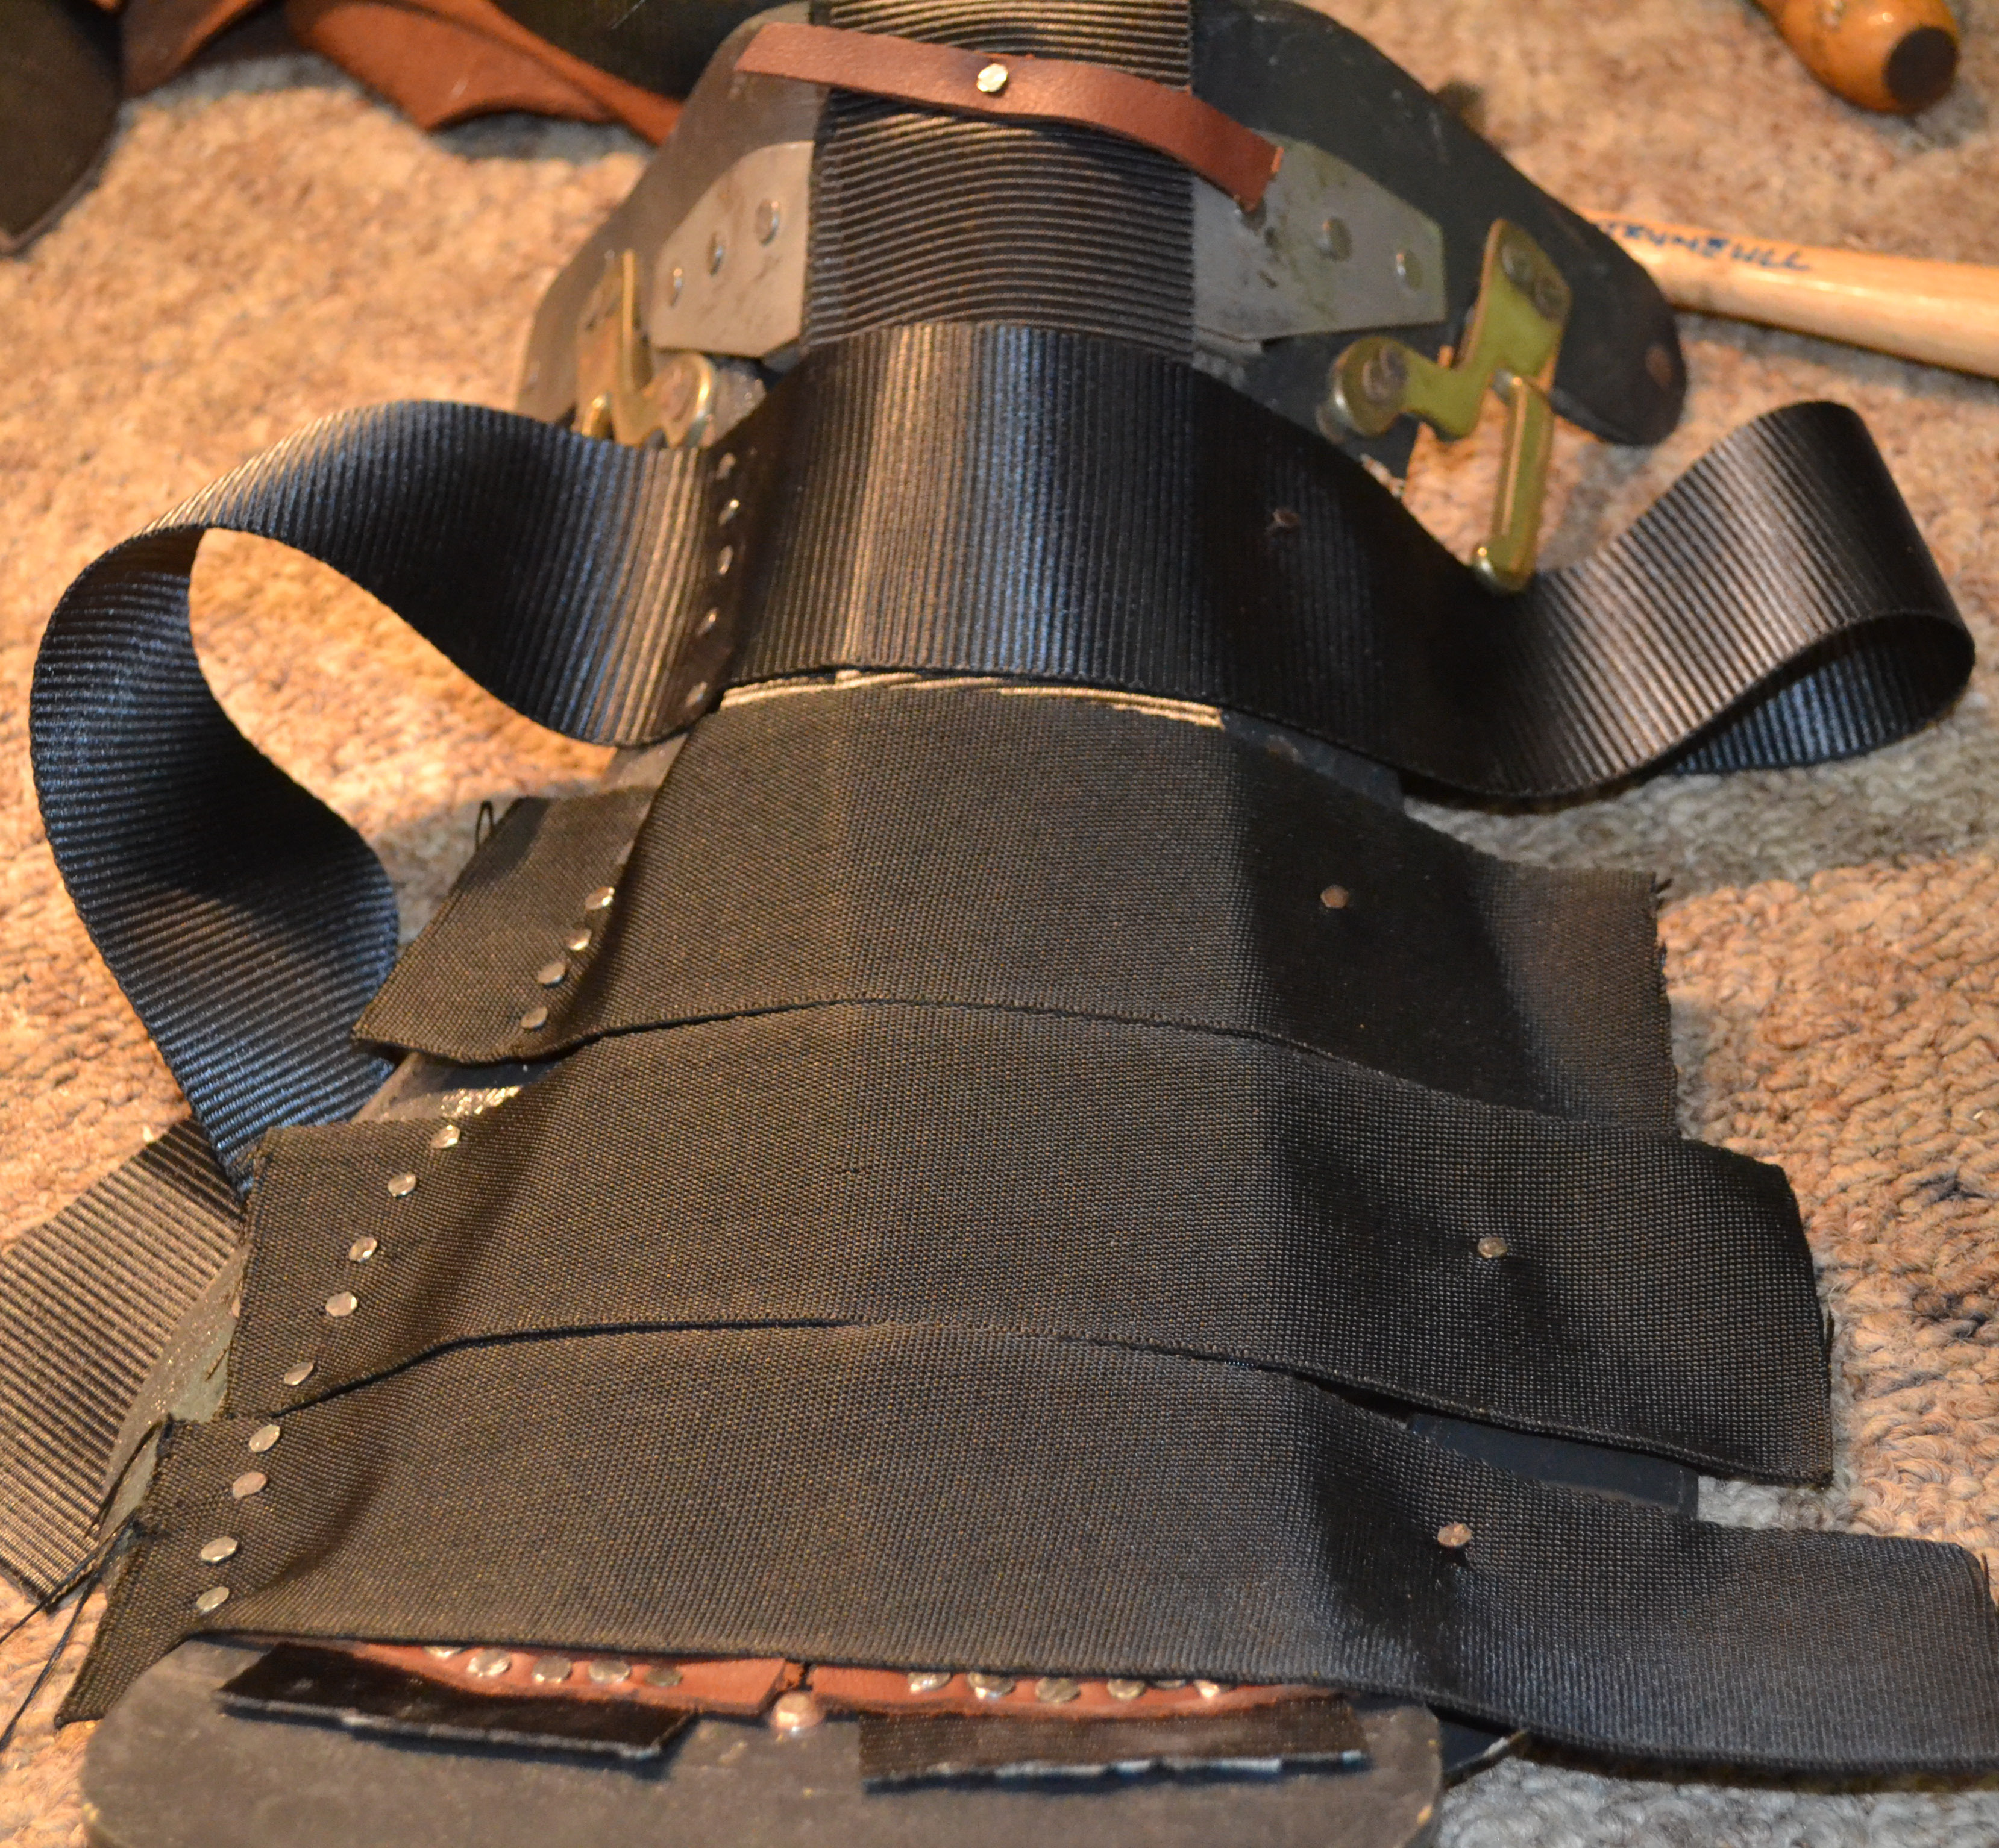
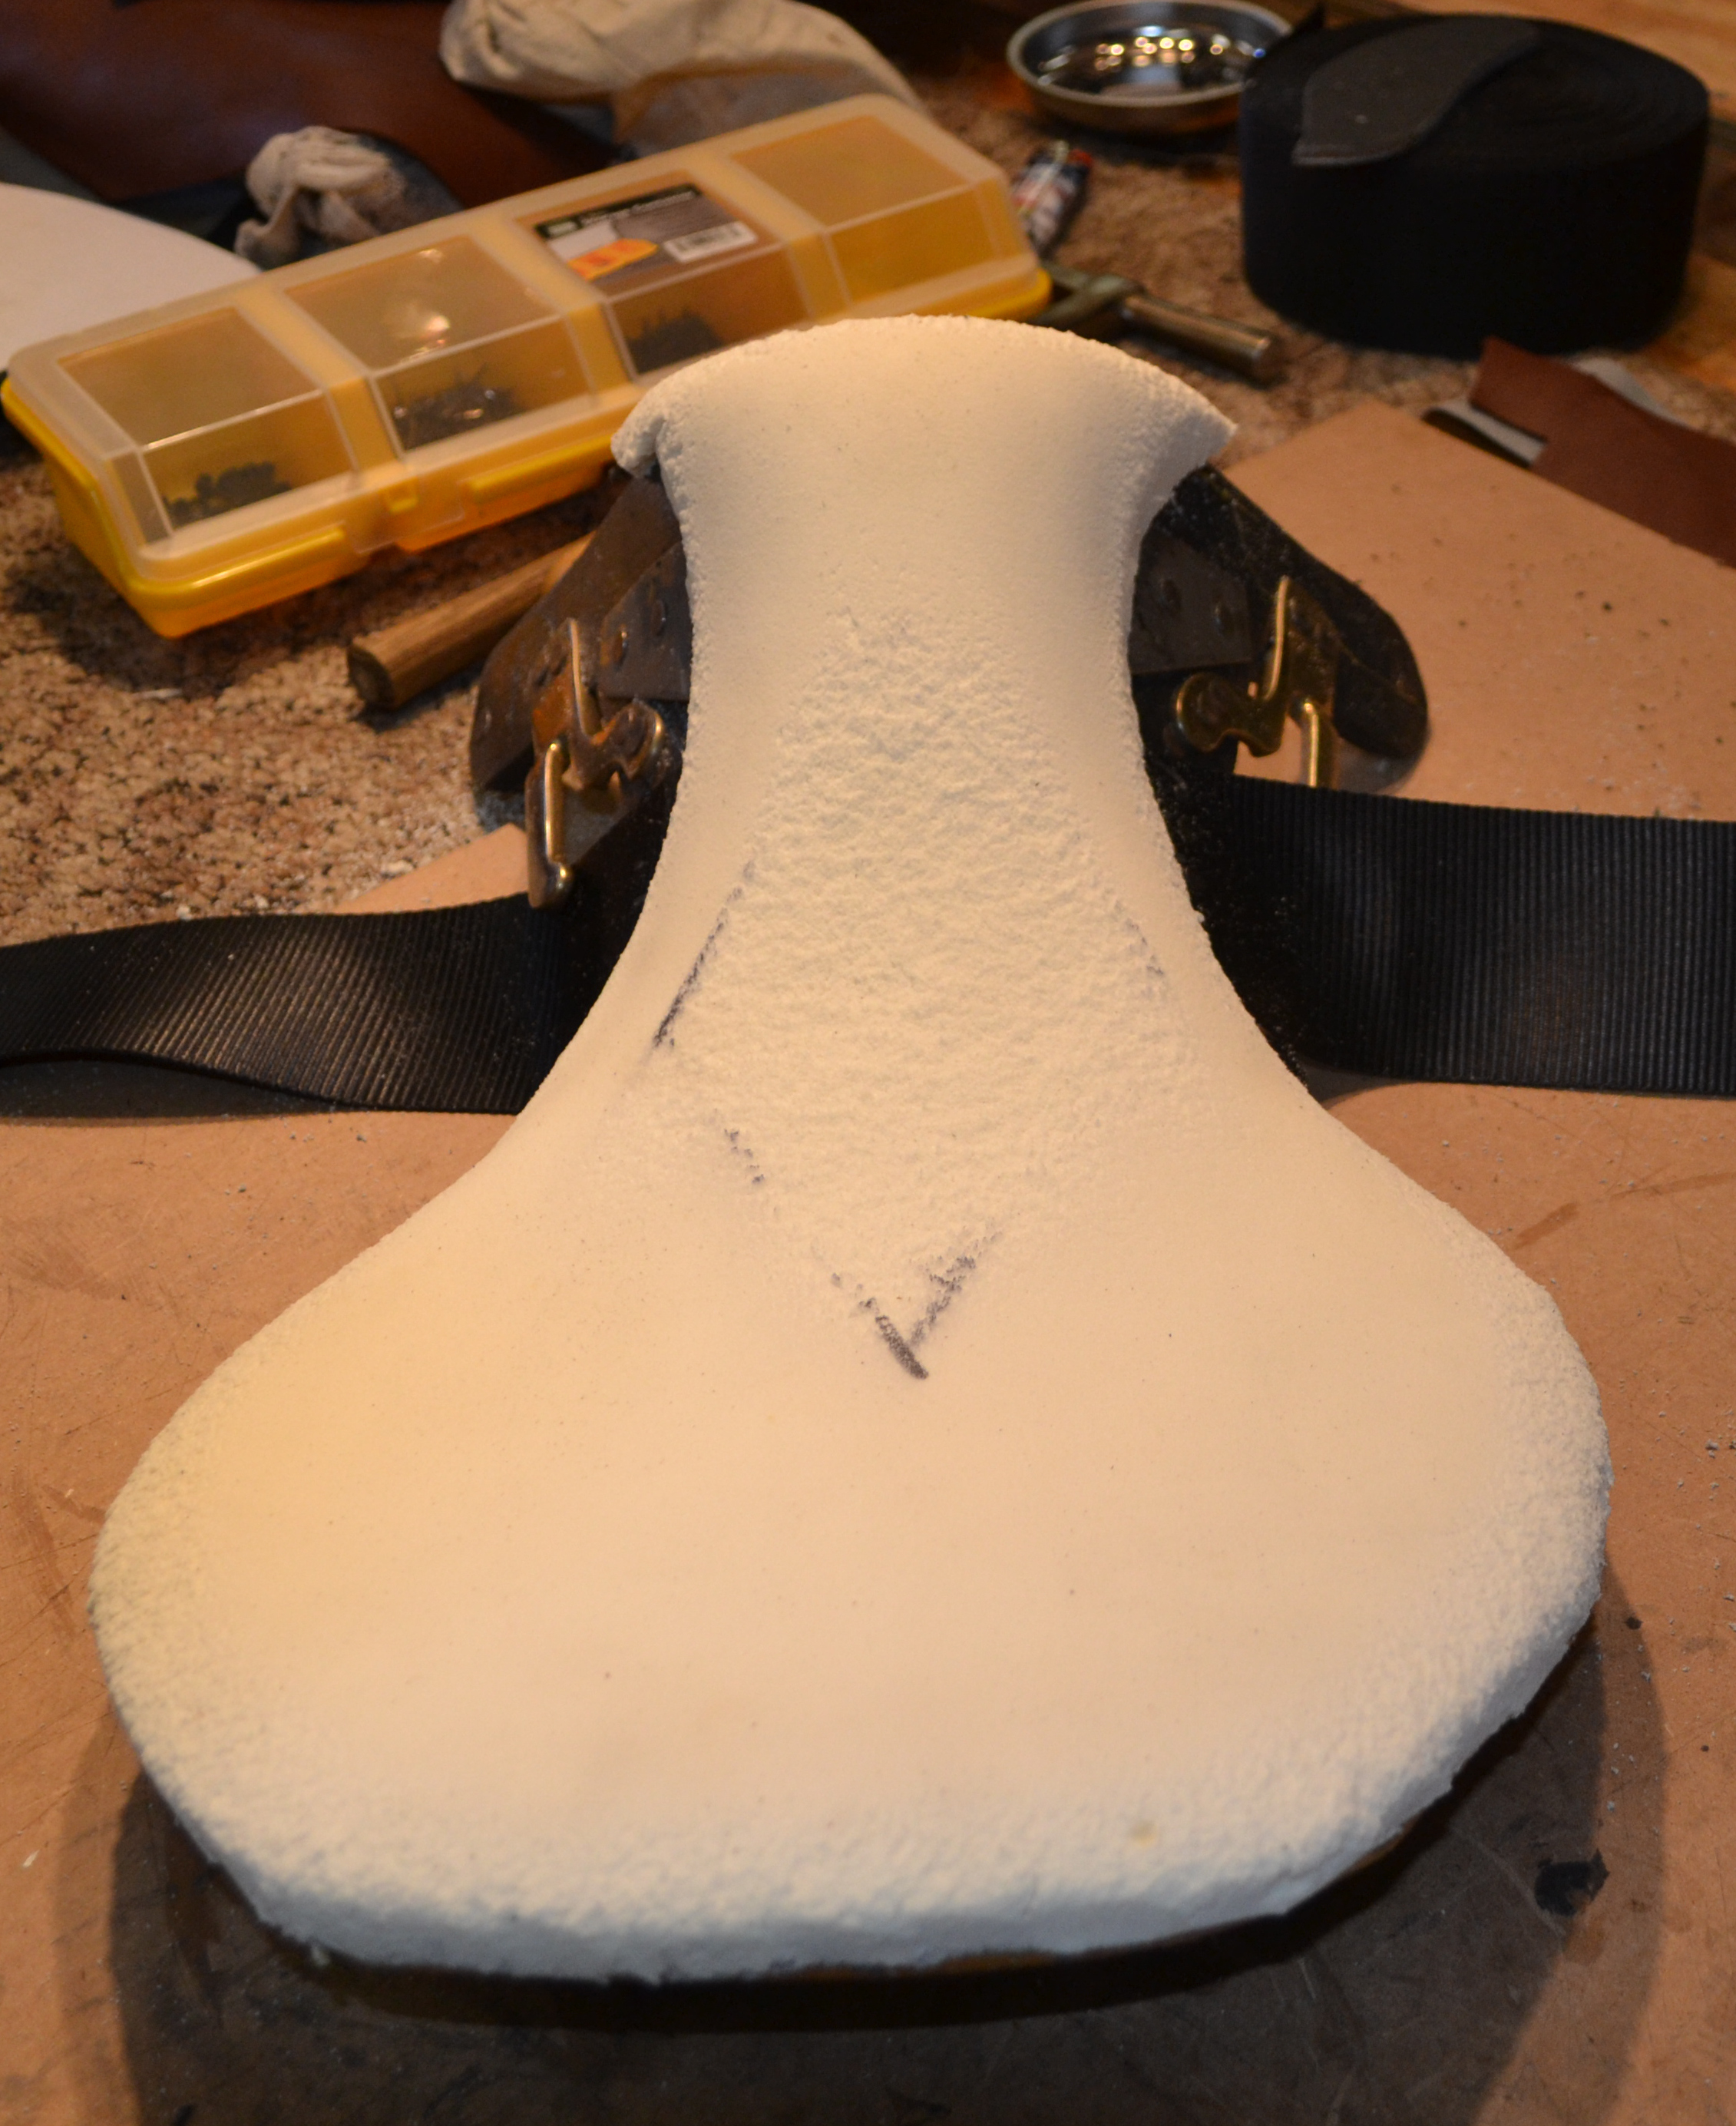
Working on each phase in the construction of the saddle allows me to understand what is possible and not possible when thinking about custom options to make a saddle work for a challenging fit situation. However, in this construction, we are essentially working on a stock type pony saddle. The very first thing is to check the saddle tree for symmetry and to rasp the seat to create it if it is not and that is with the assumption that the tree is straight and true. Next, wrapping the rails and then straining the seat which involves attaching webbing longitudinally and then horizontally. This involves measuring the webbing, figuring out where the tabs will be for the billet straps and tightening the webbing in such a way as to allow for some give in the seat. The longitudinal tightness has some influence on how flat or deep the seat will feel. If pulled tightly, the seat will have less give but too loose and the spring bars might do some damage to the webs.
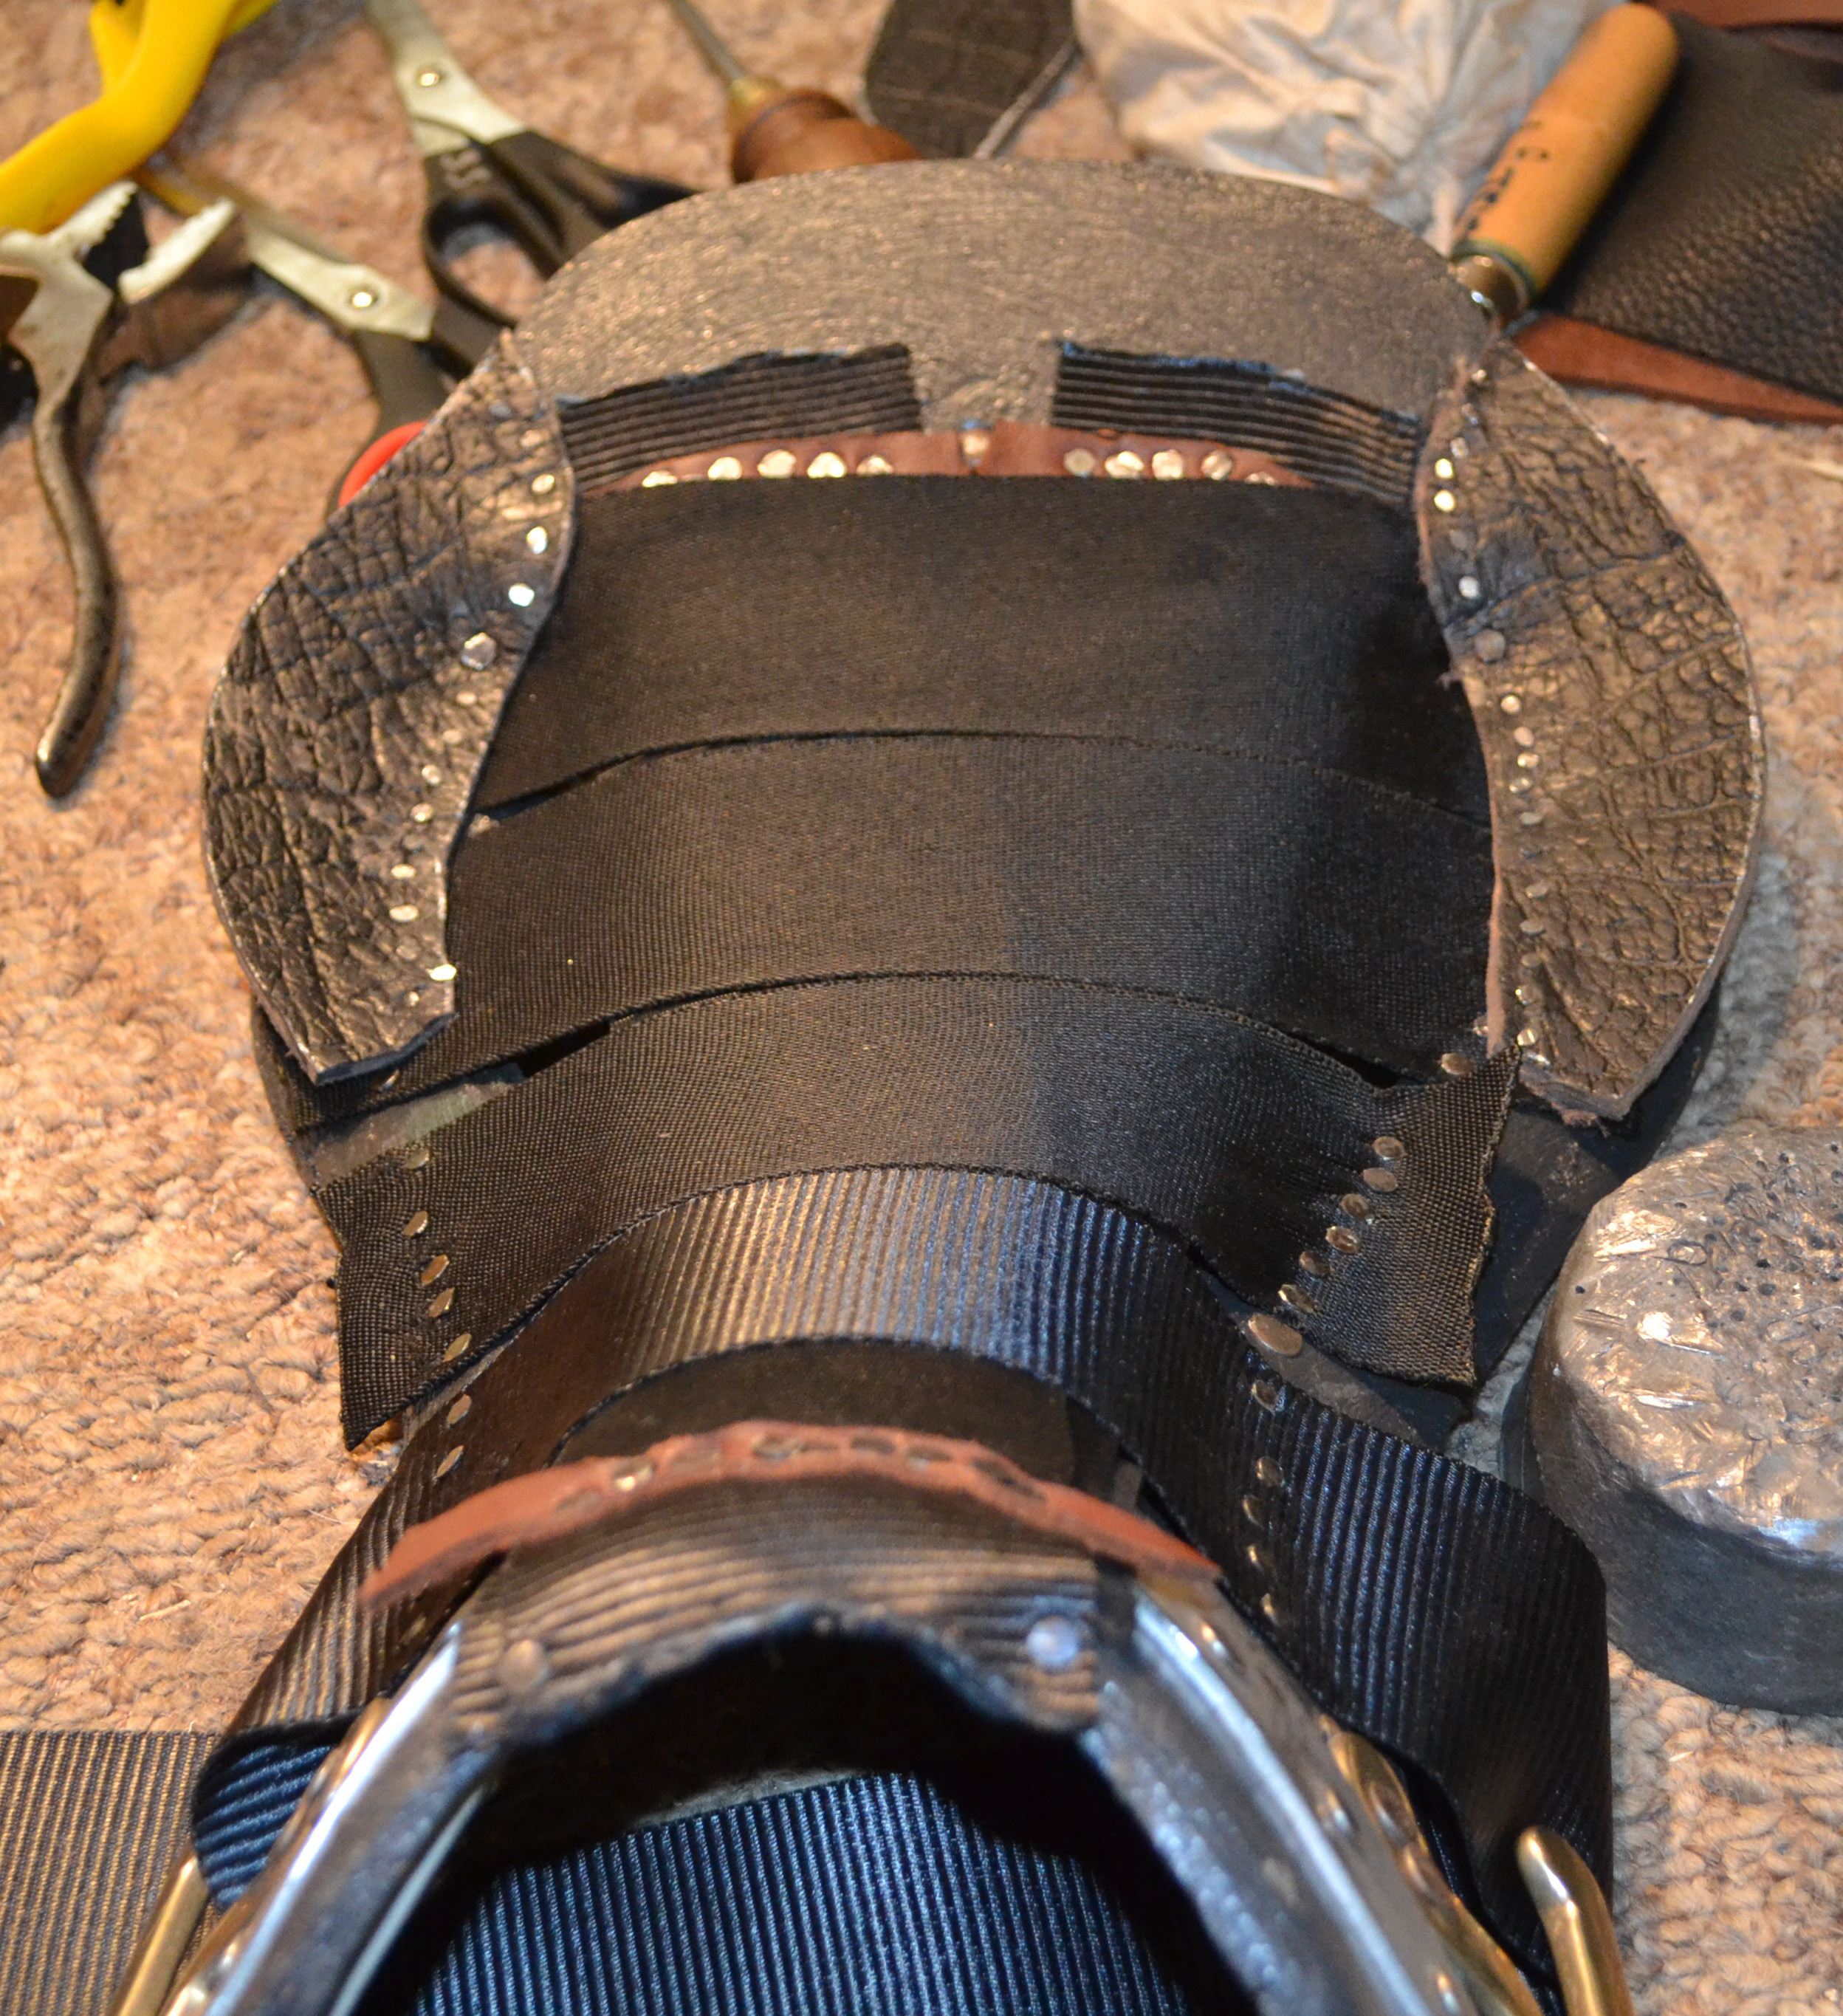
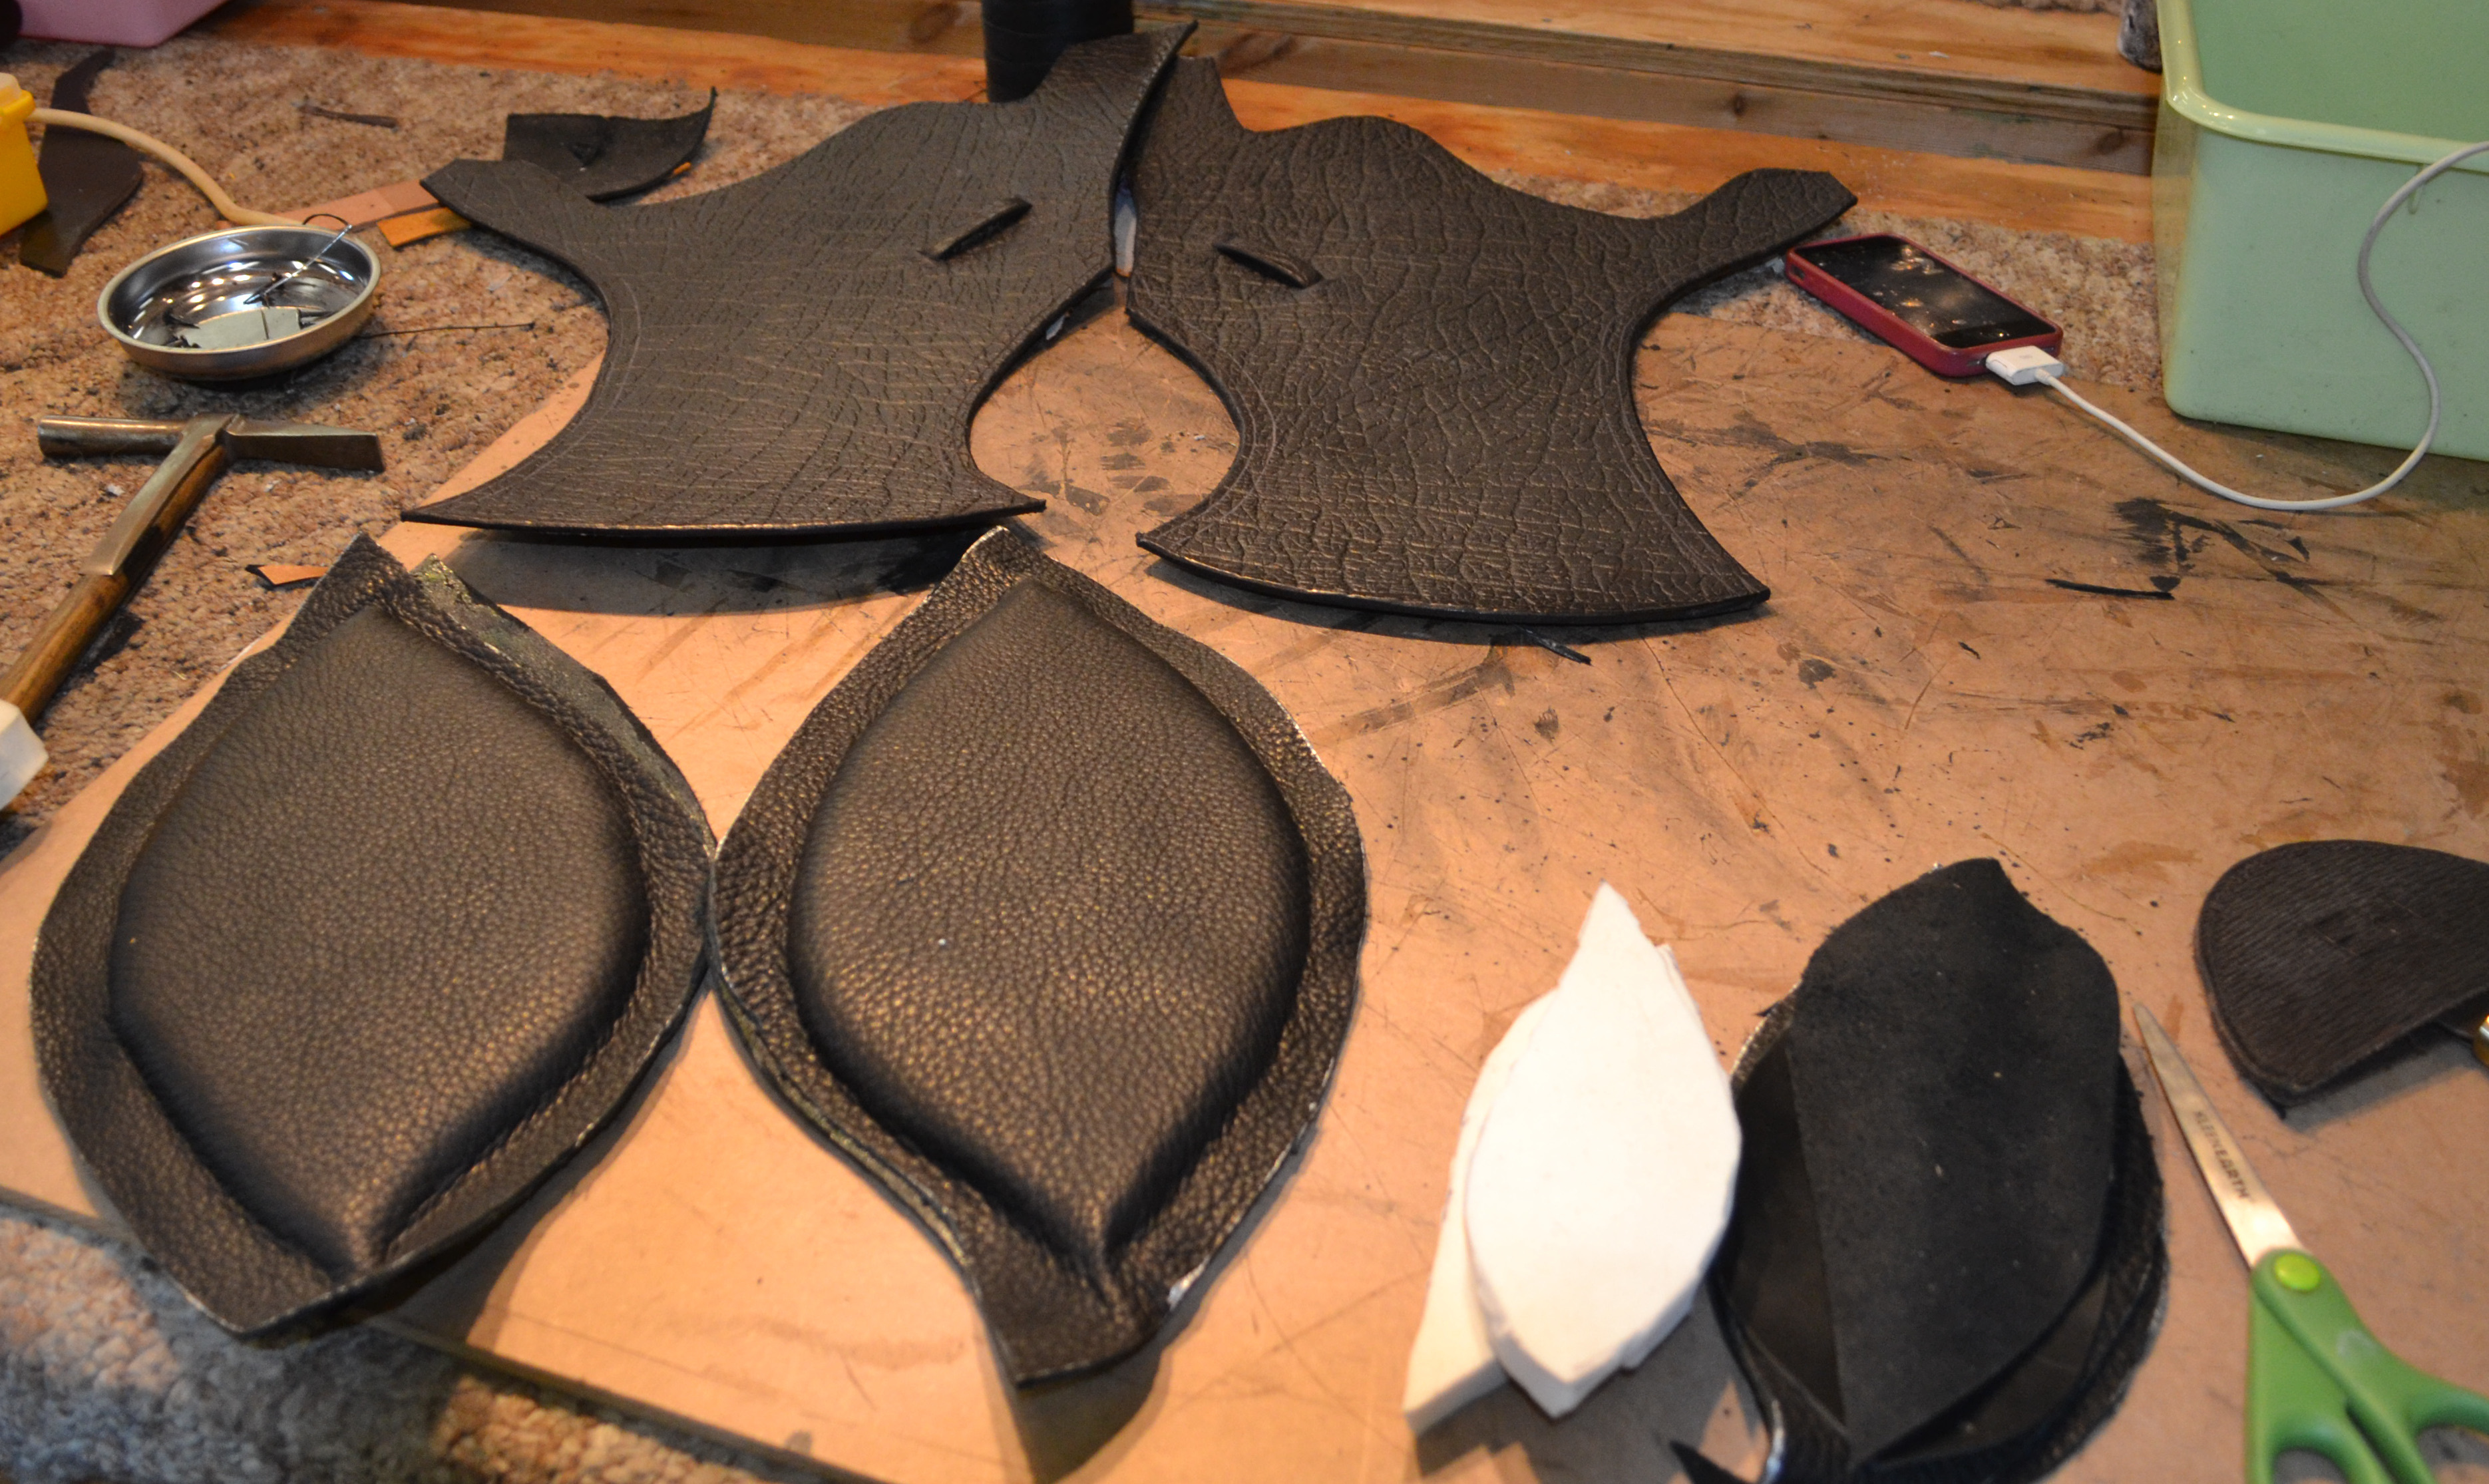
The next step was cutting the “bellies” which are crescent shaped pieces of leather that one attaches to the seat edge to create more of an actual place or more width for your seat.
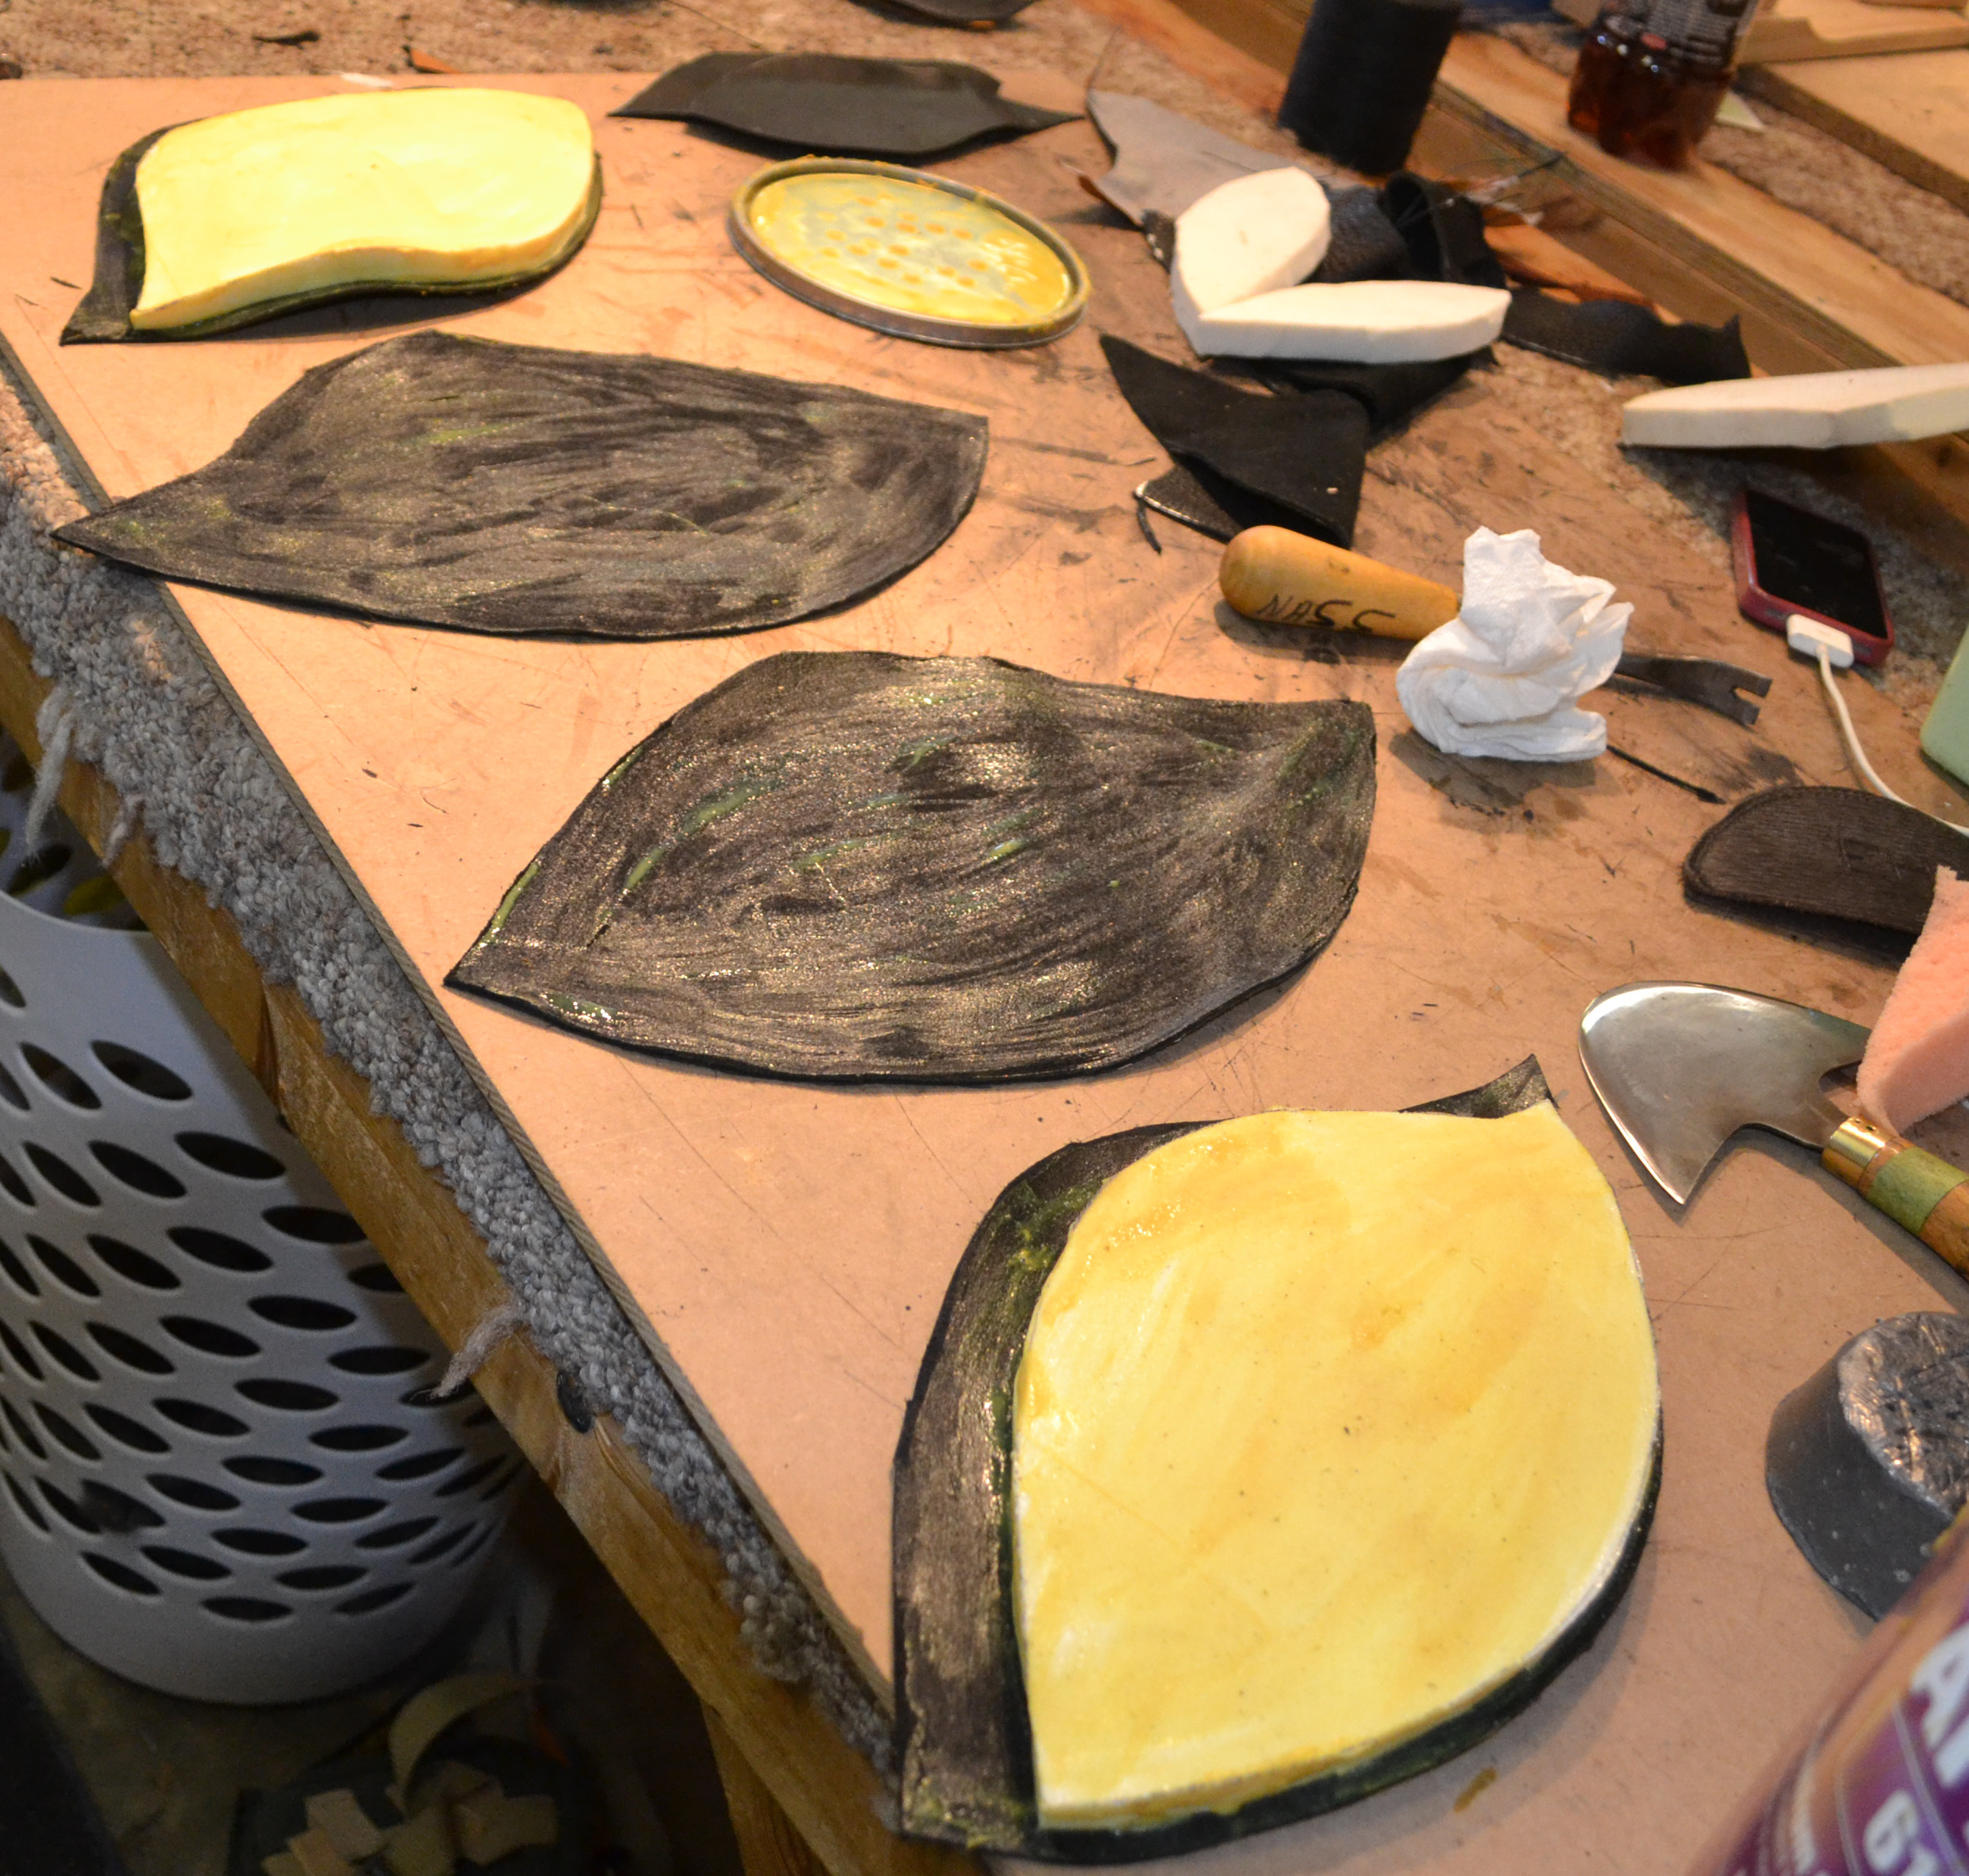
The next couple of steps included cutting the base layer of plastazote which is some type of foam and then the latex foam for the top seat layer. Both are cut from a pattern, glued on and rasped. Once the top foam layer is in place, a diamond shaped piece is rasped out of the center to give a little more of a spot for the seat.
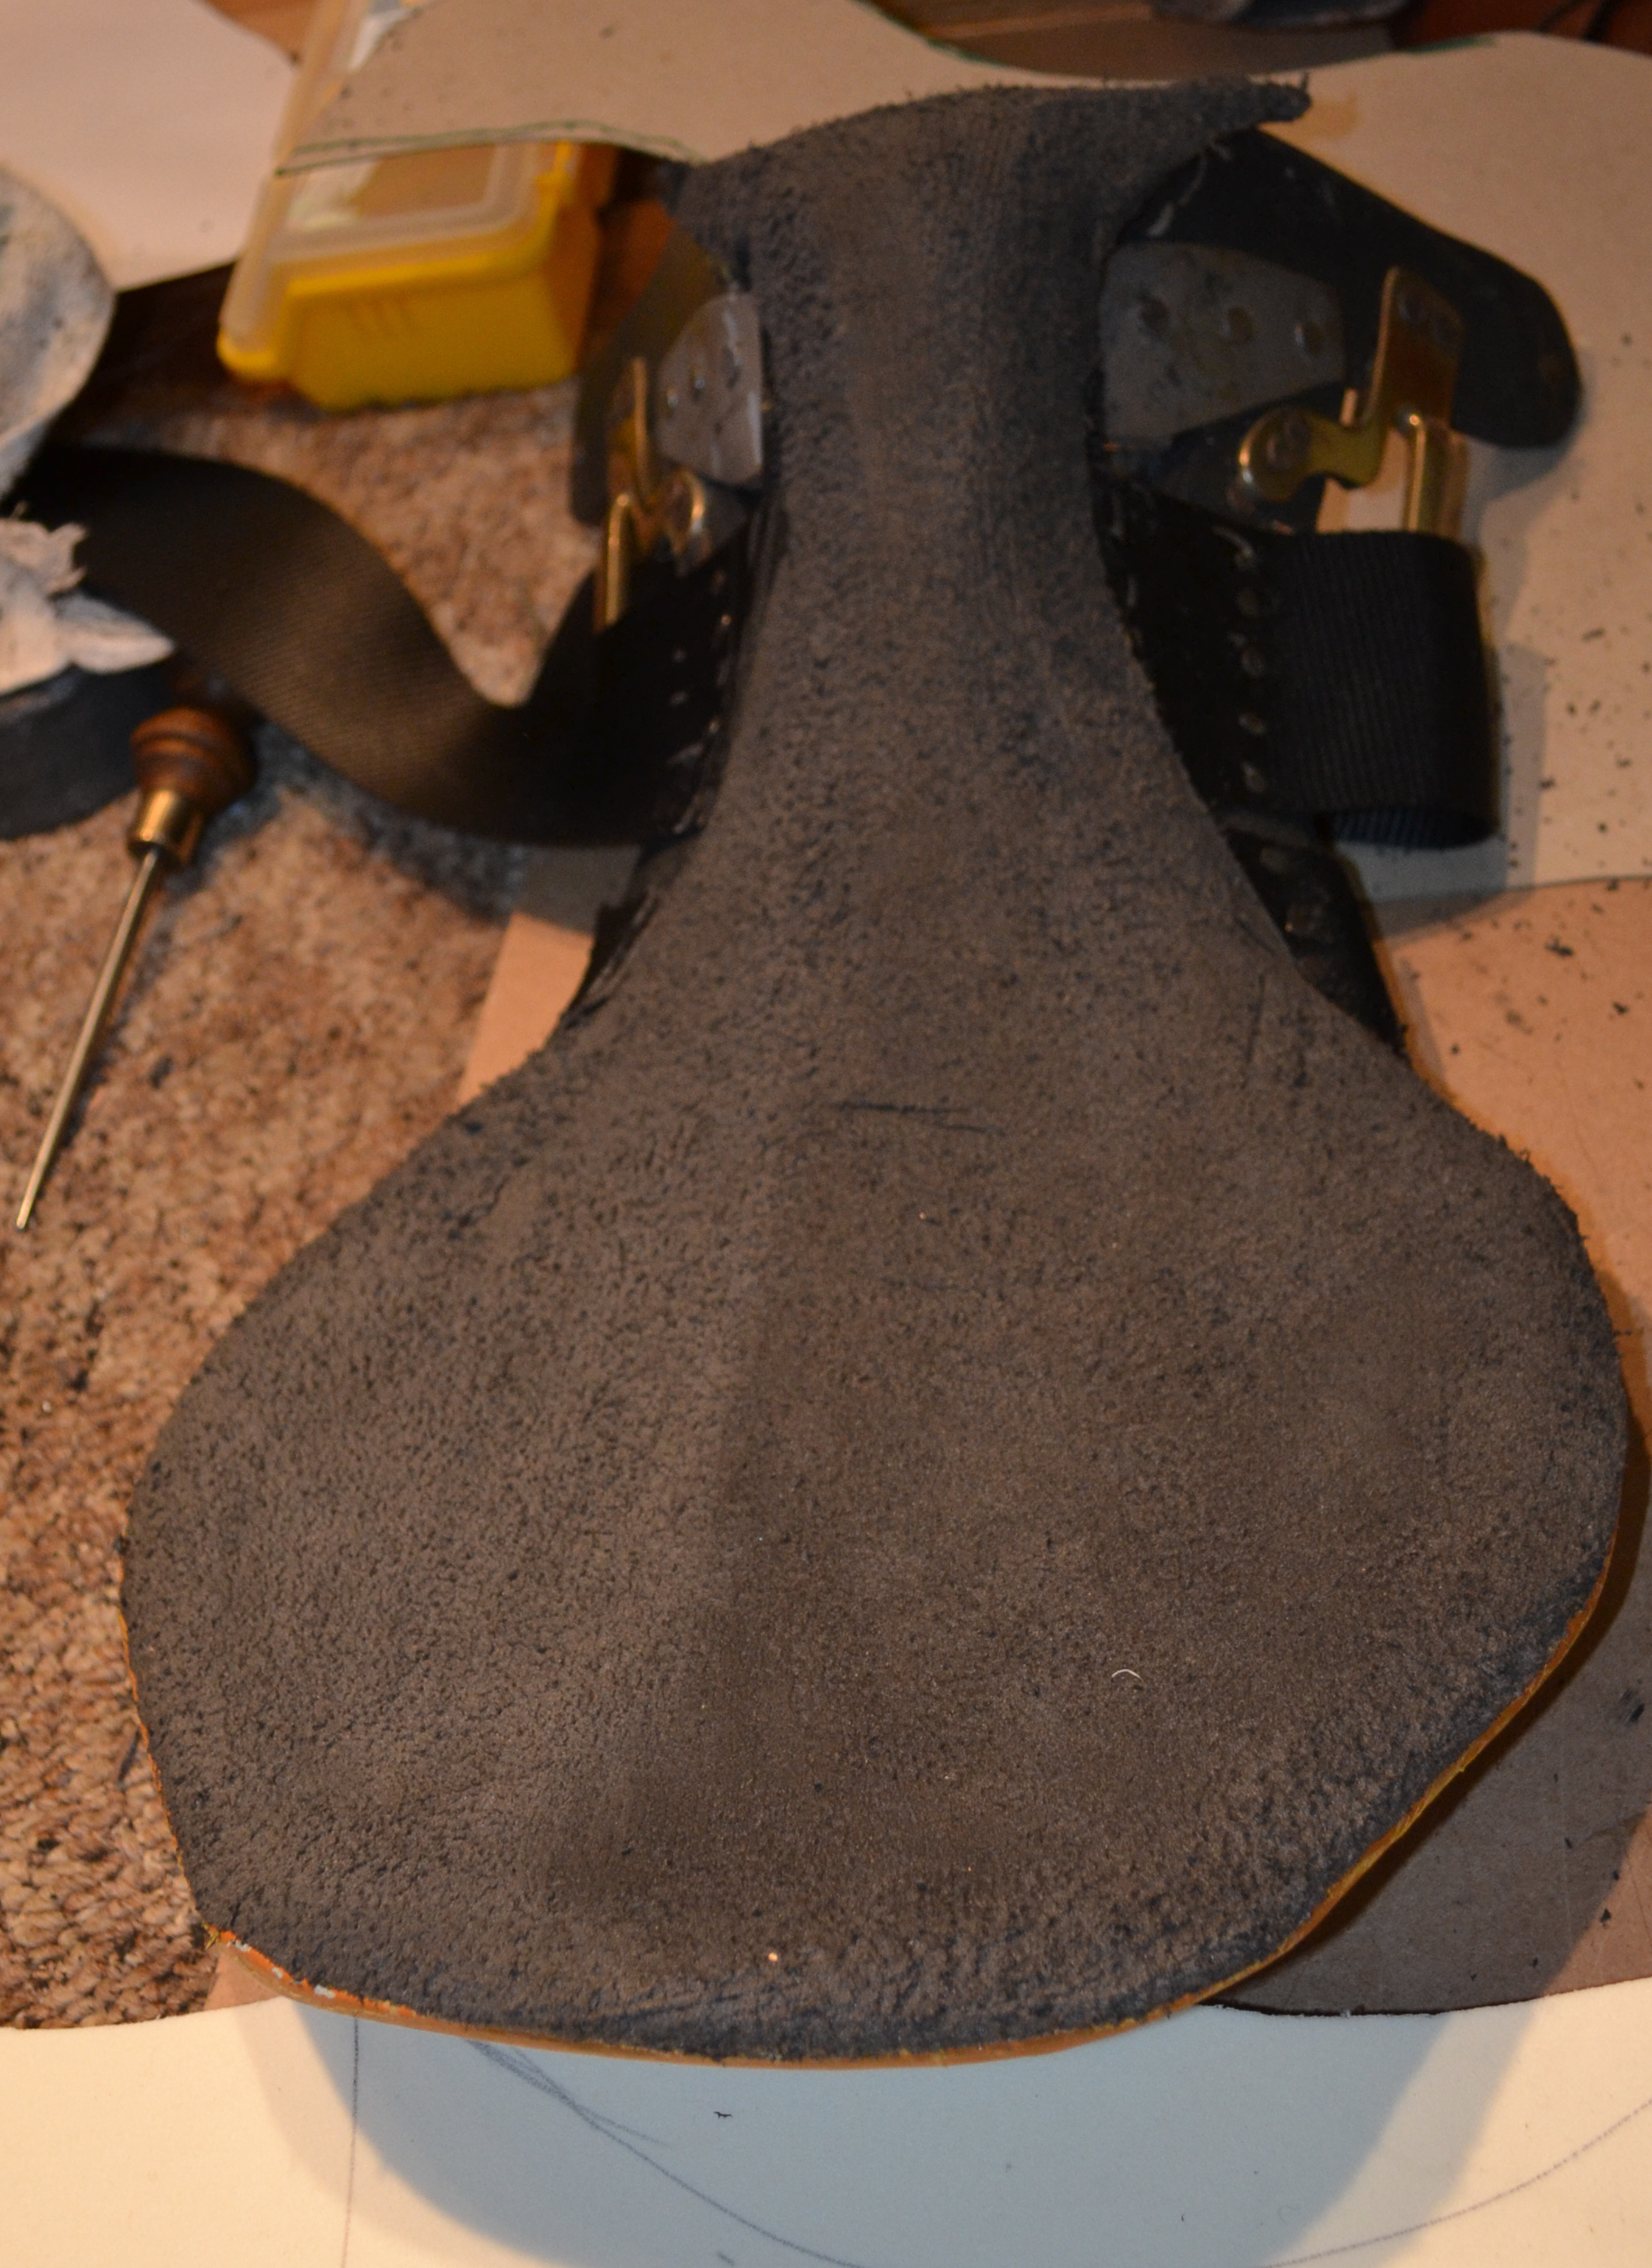
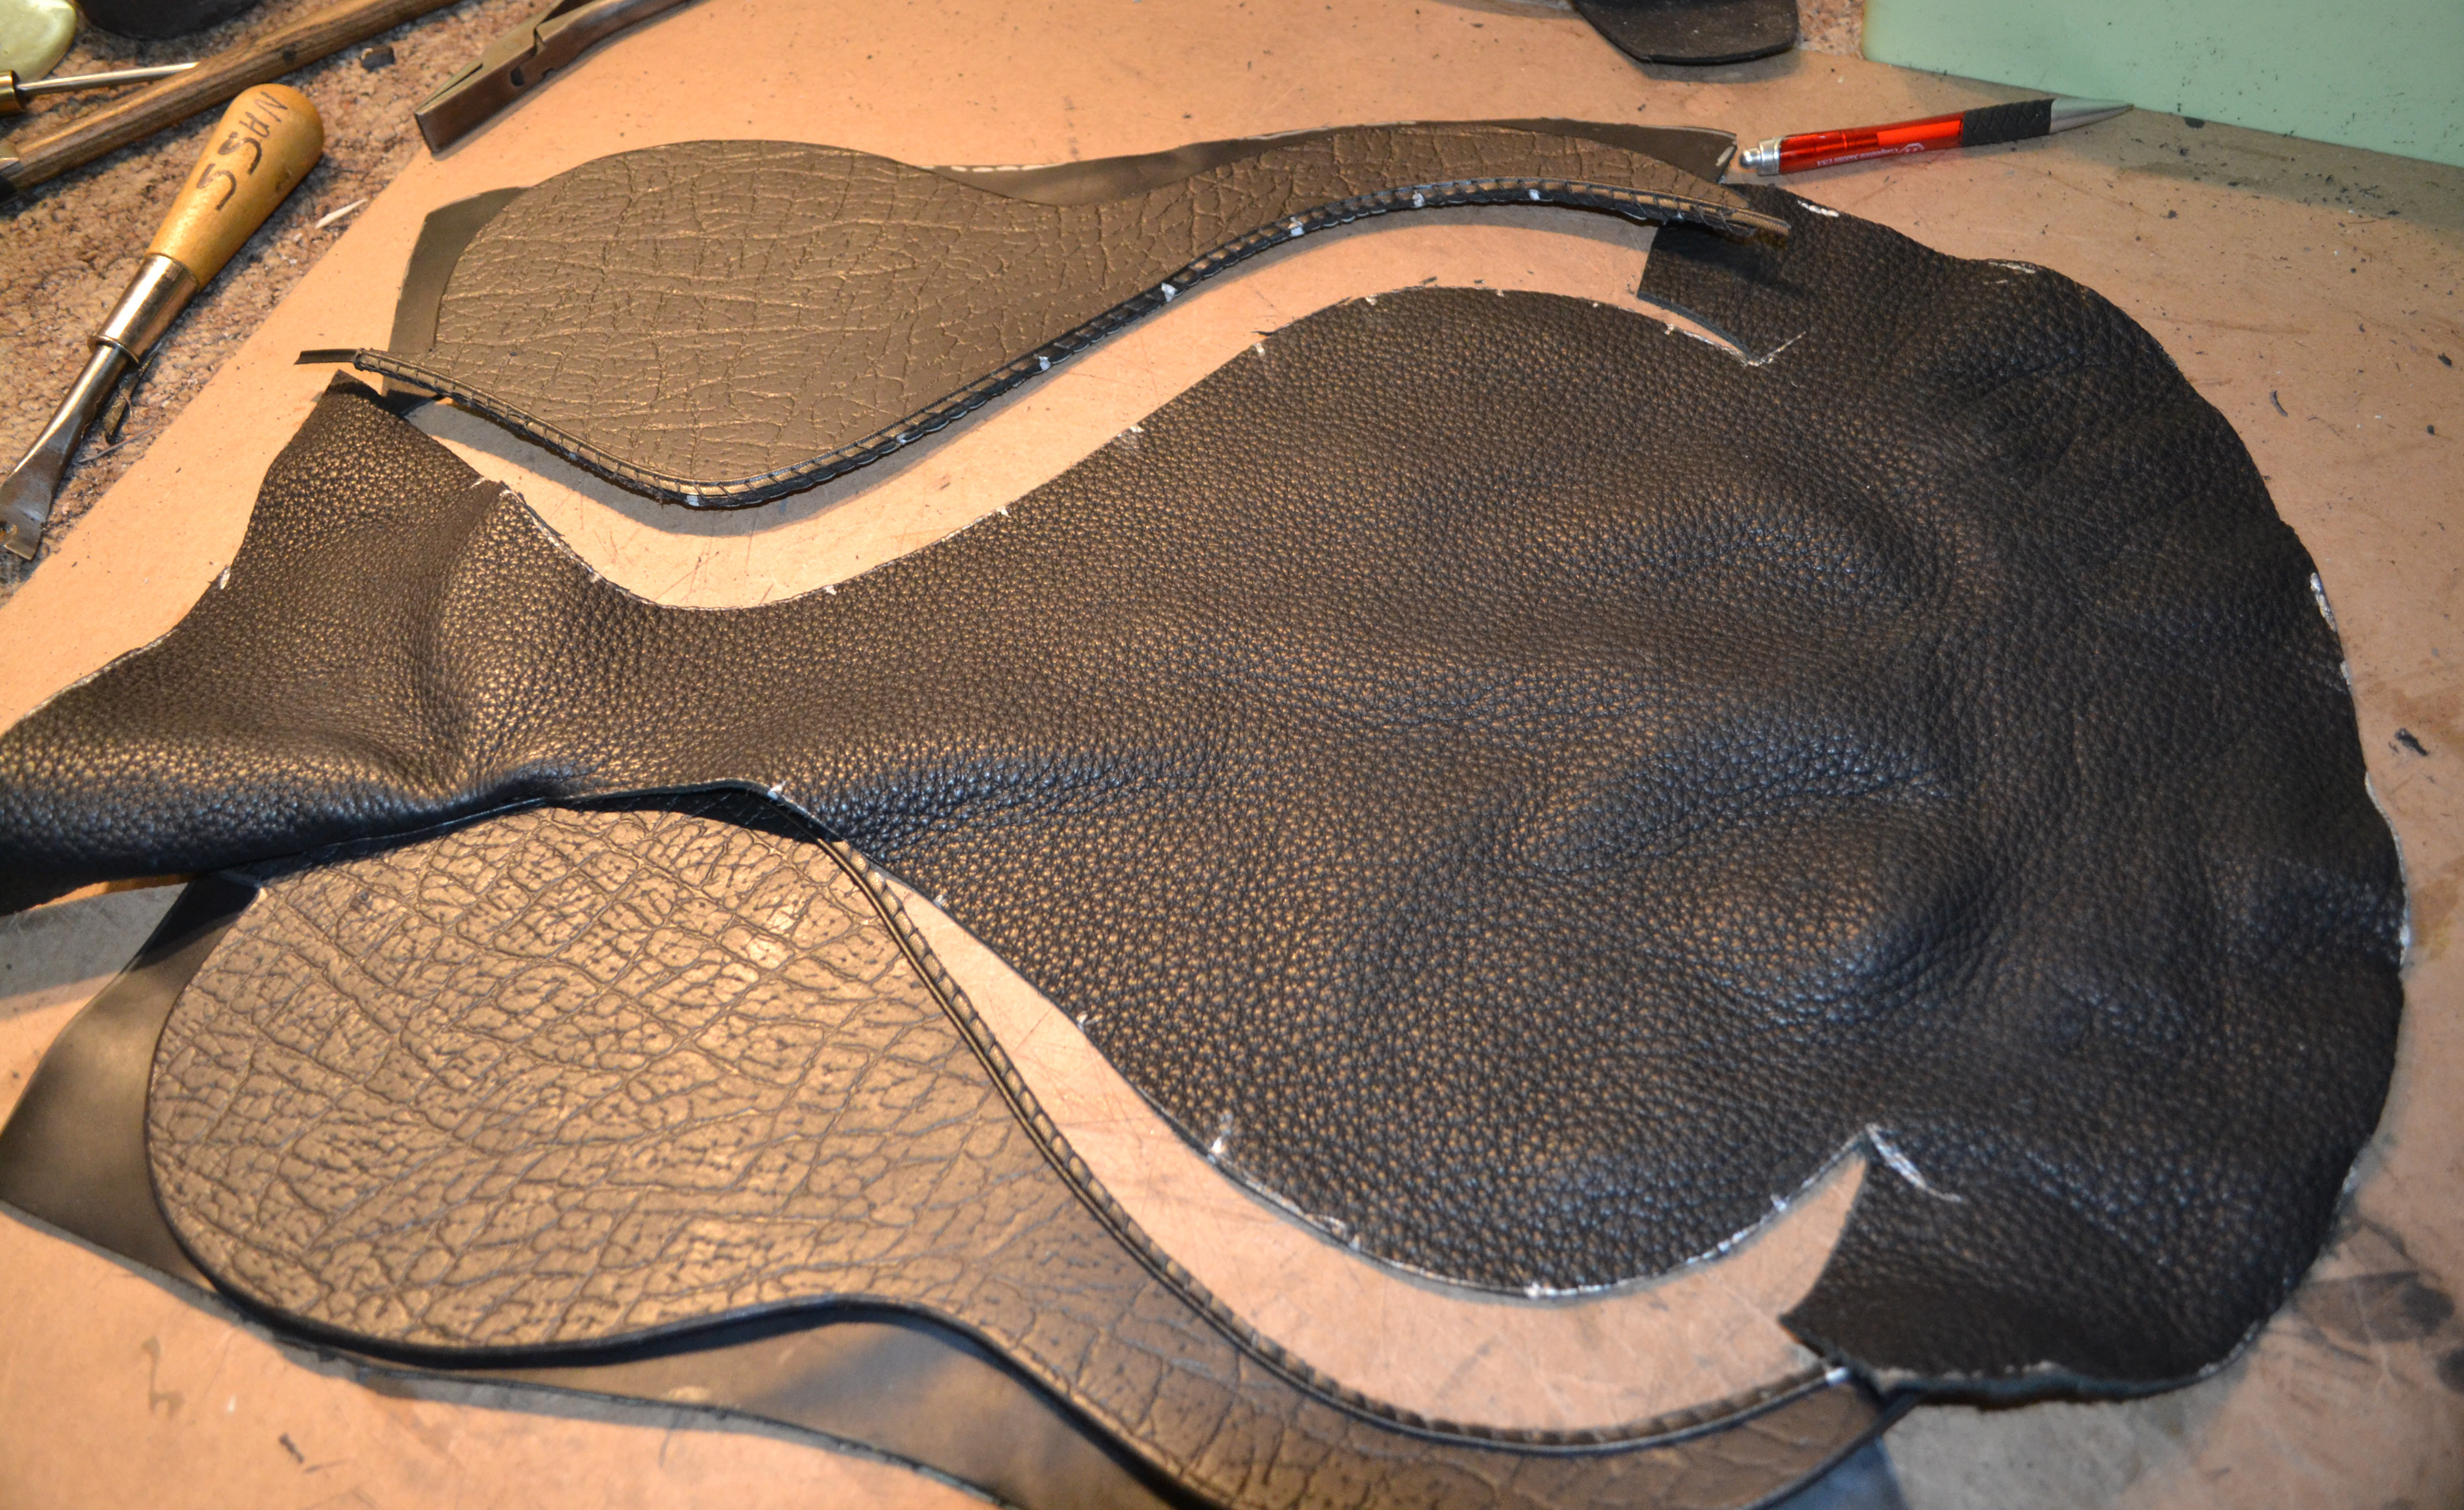
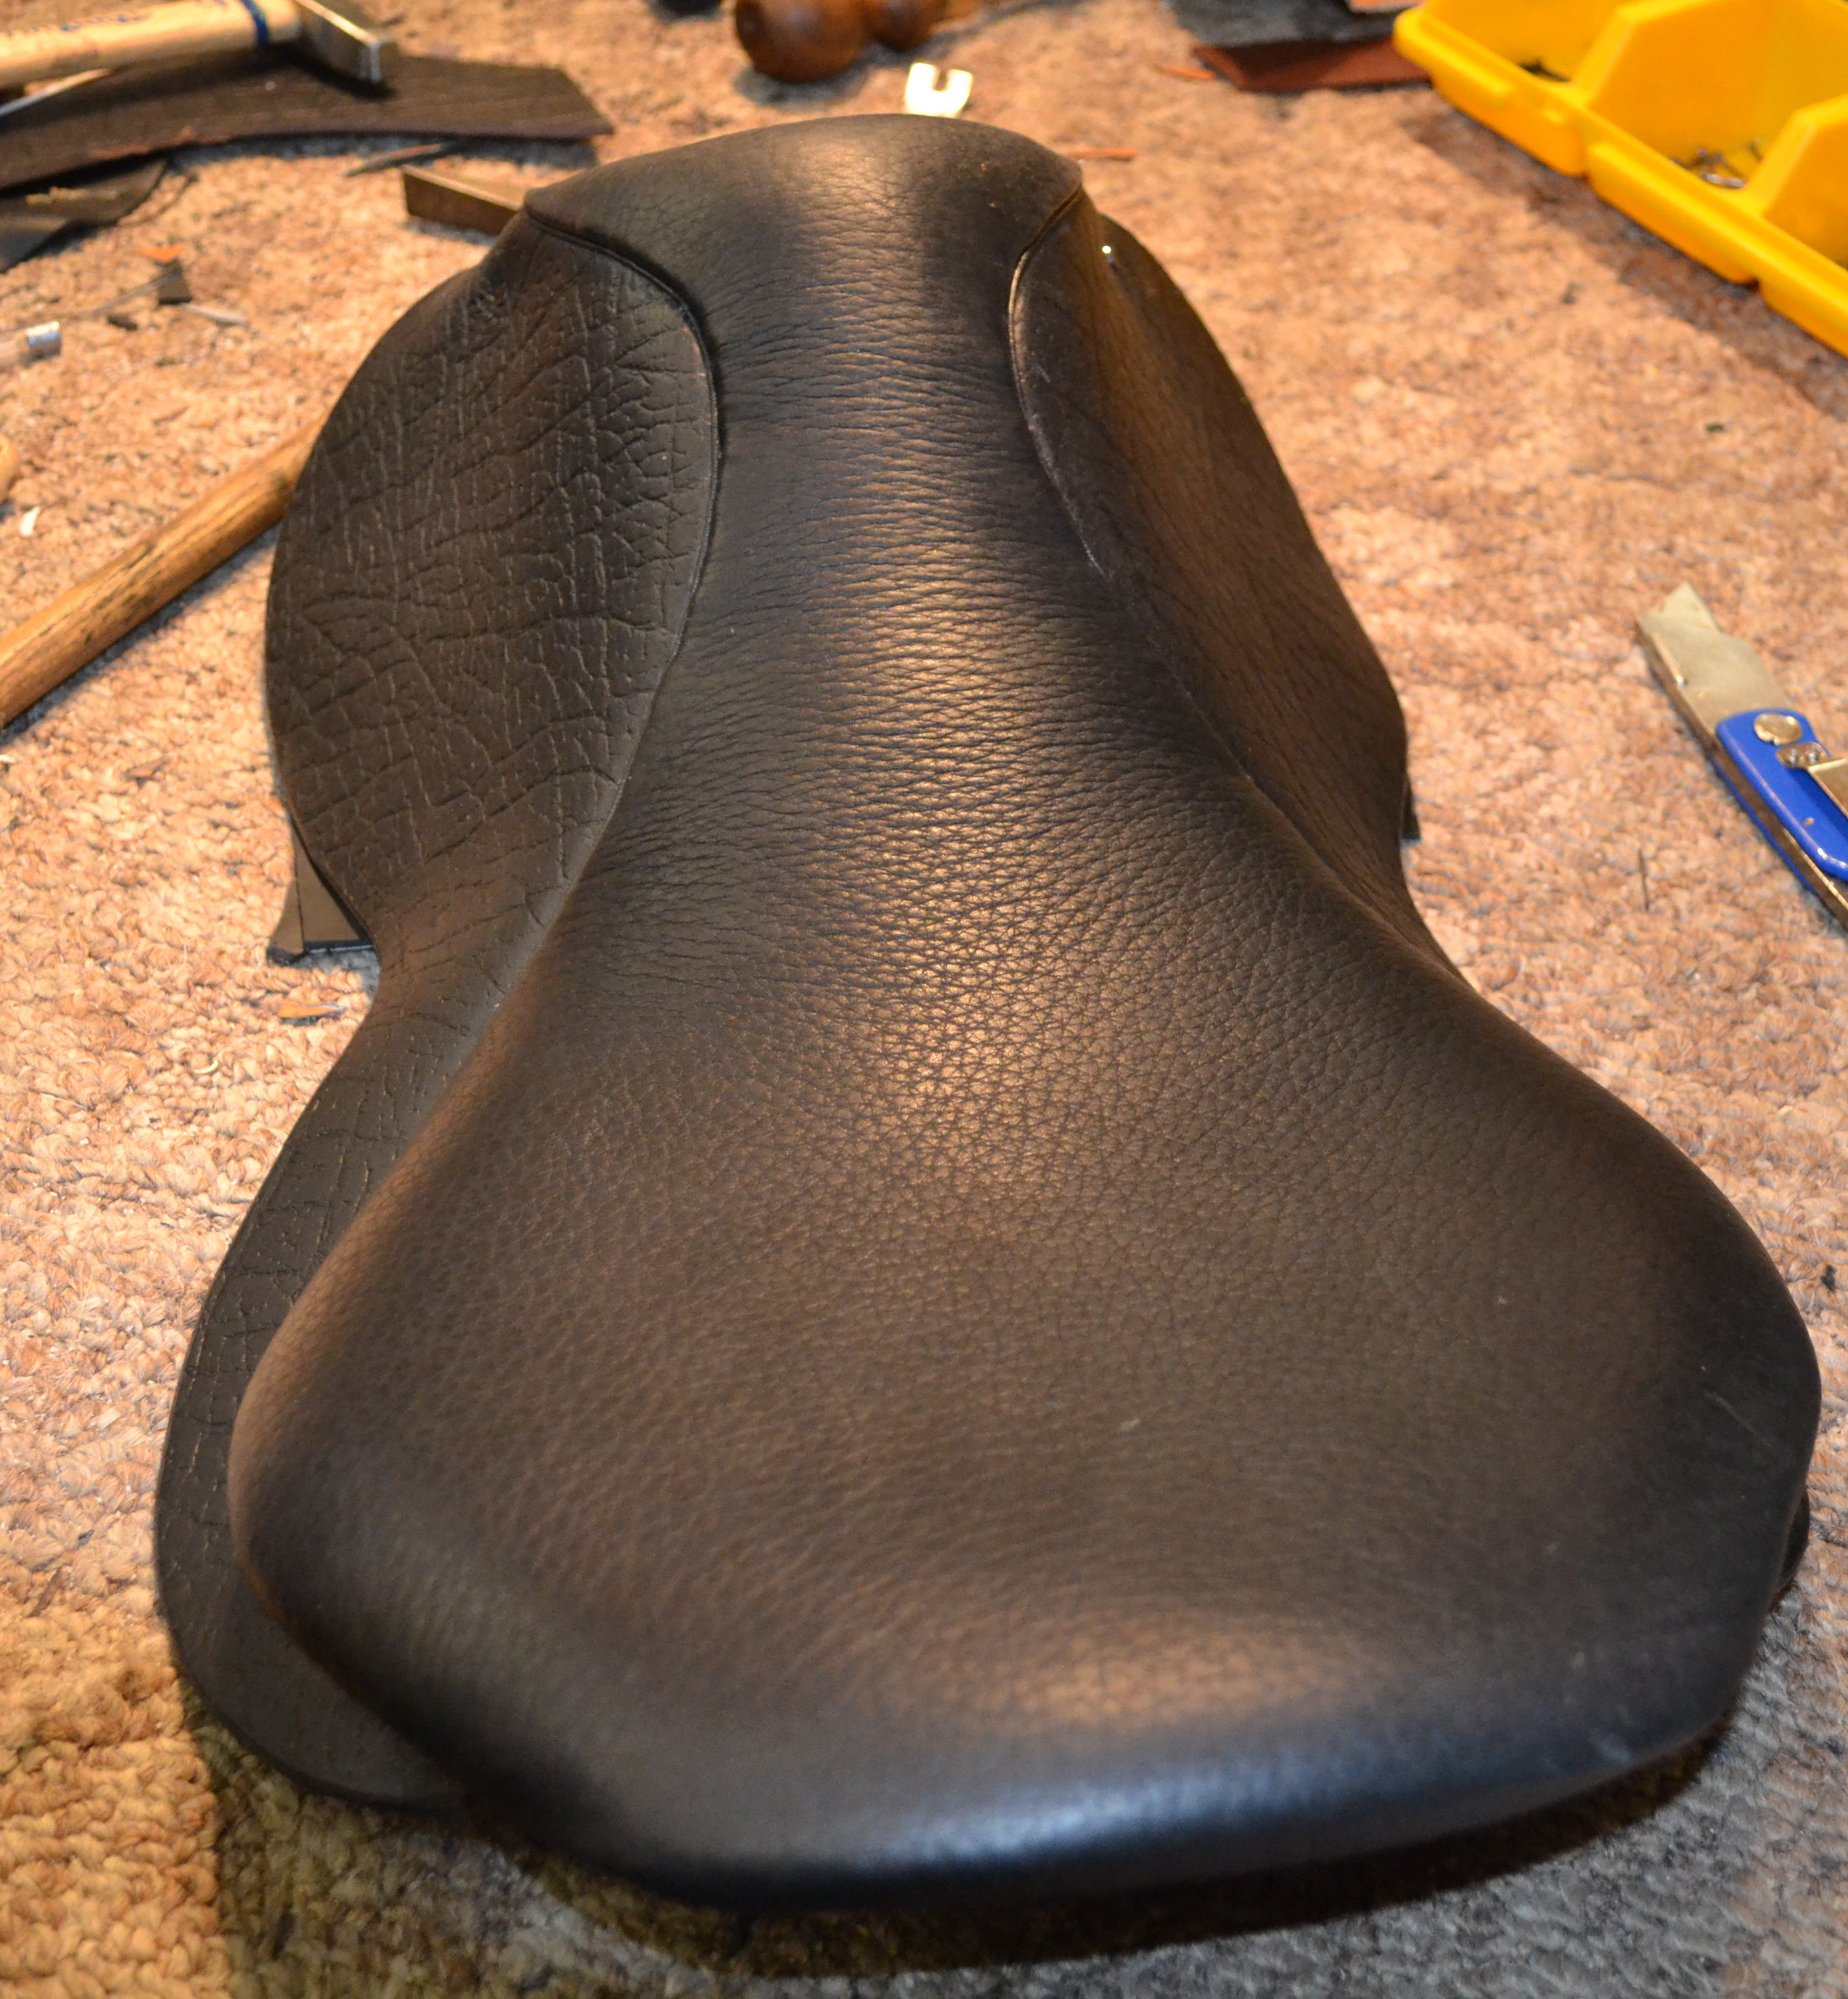
Once the foam layers are set, I cut the seat leather from a pattern and “blocked” it which is making sure it fits and marking it and making appropriate slits to fit around stirrup bars, etc. so that it can be permanently tacked on after the skirts have been added.

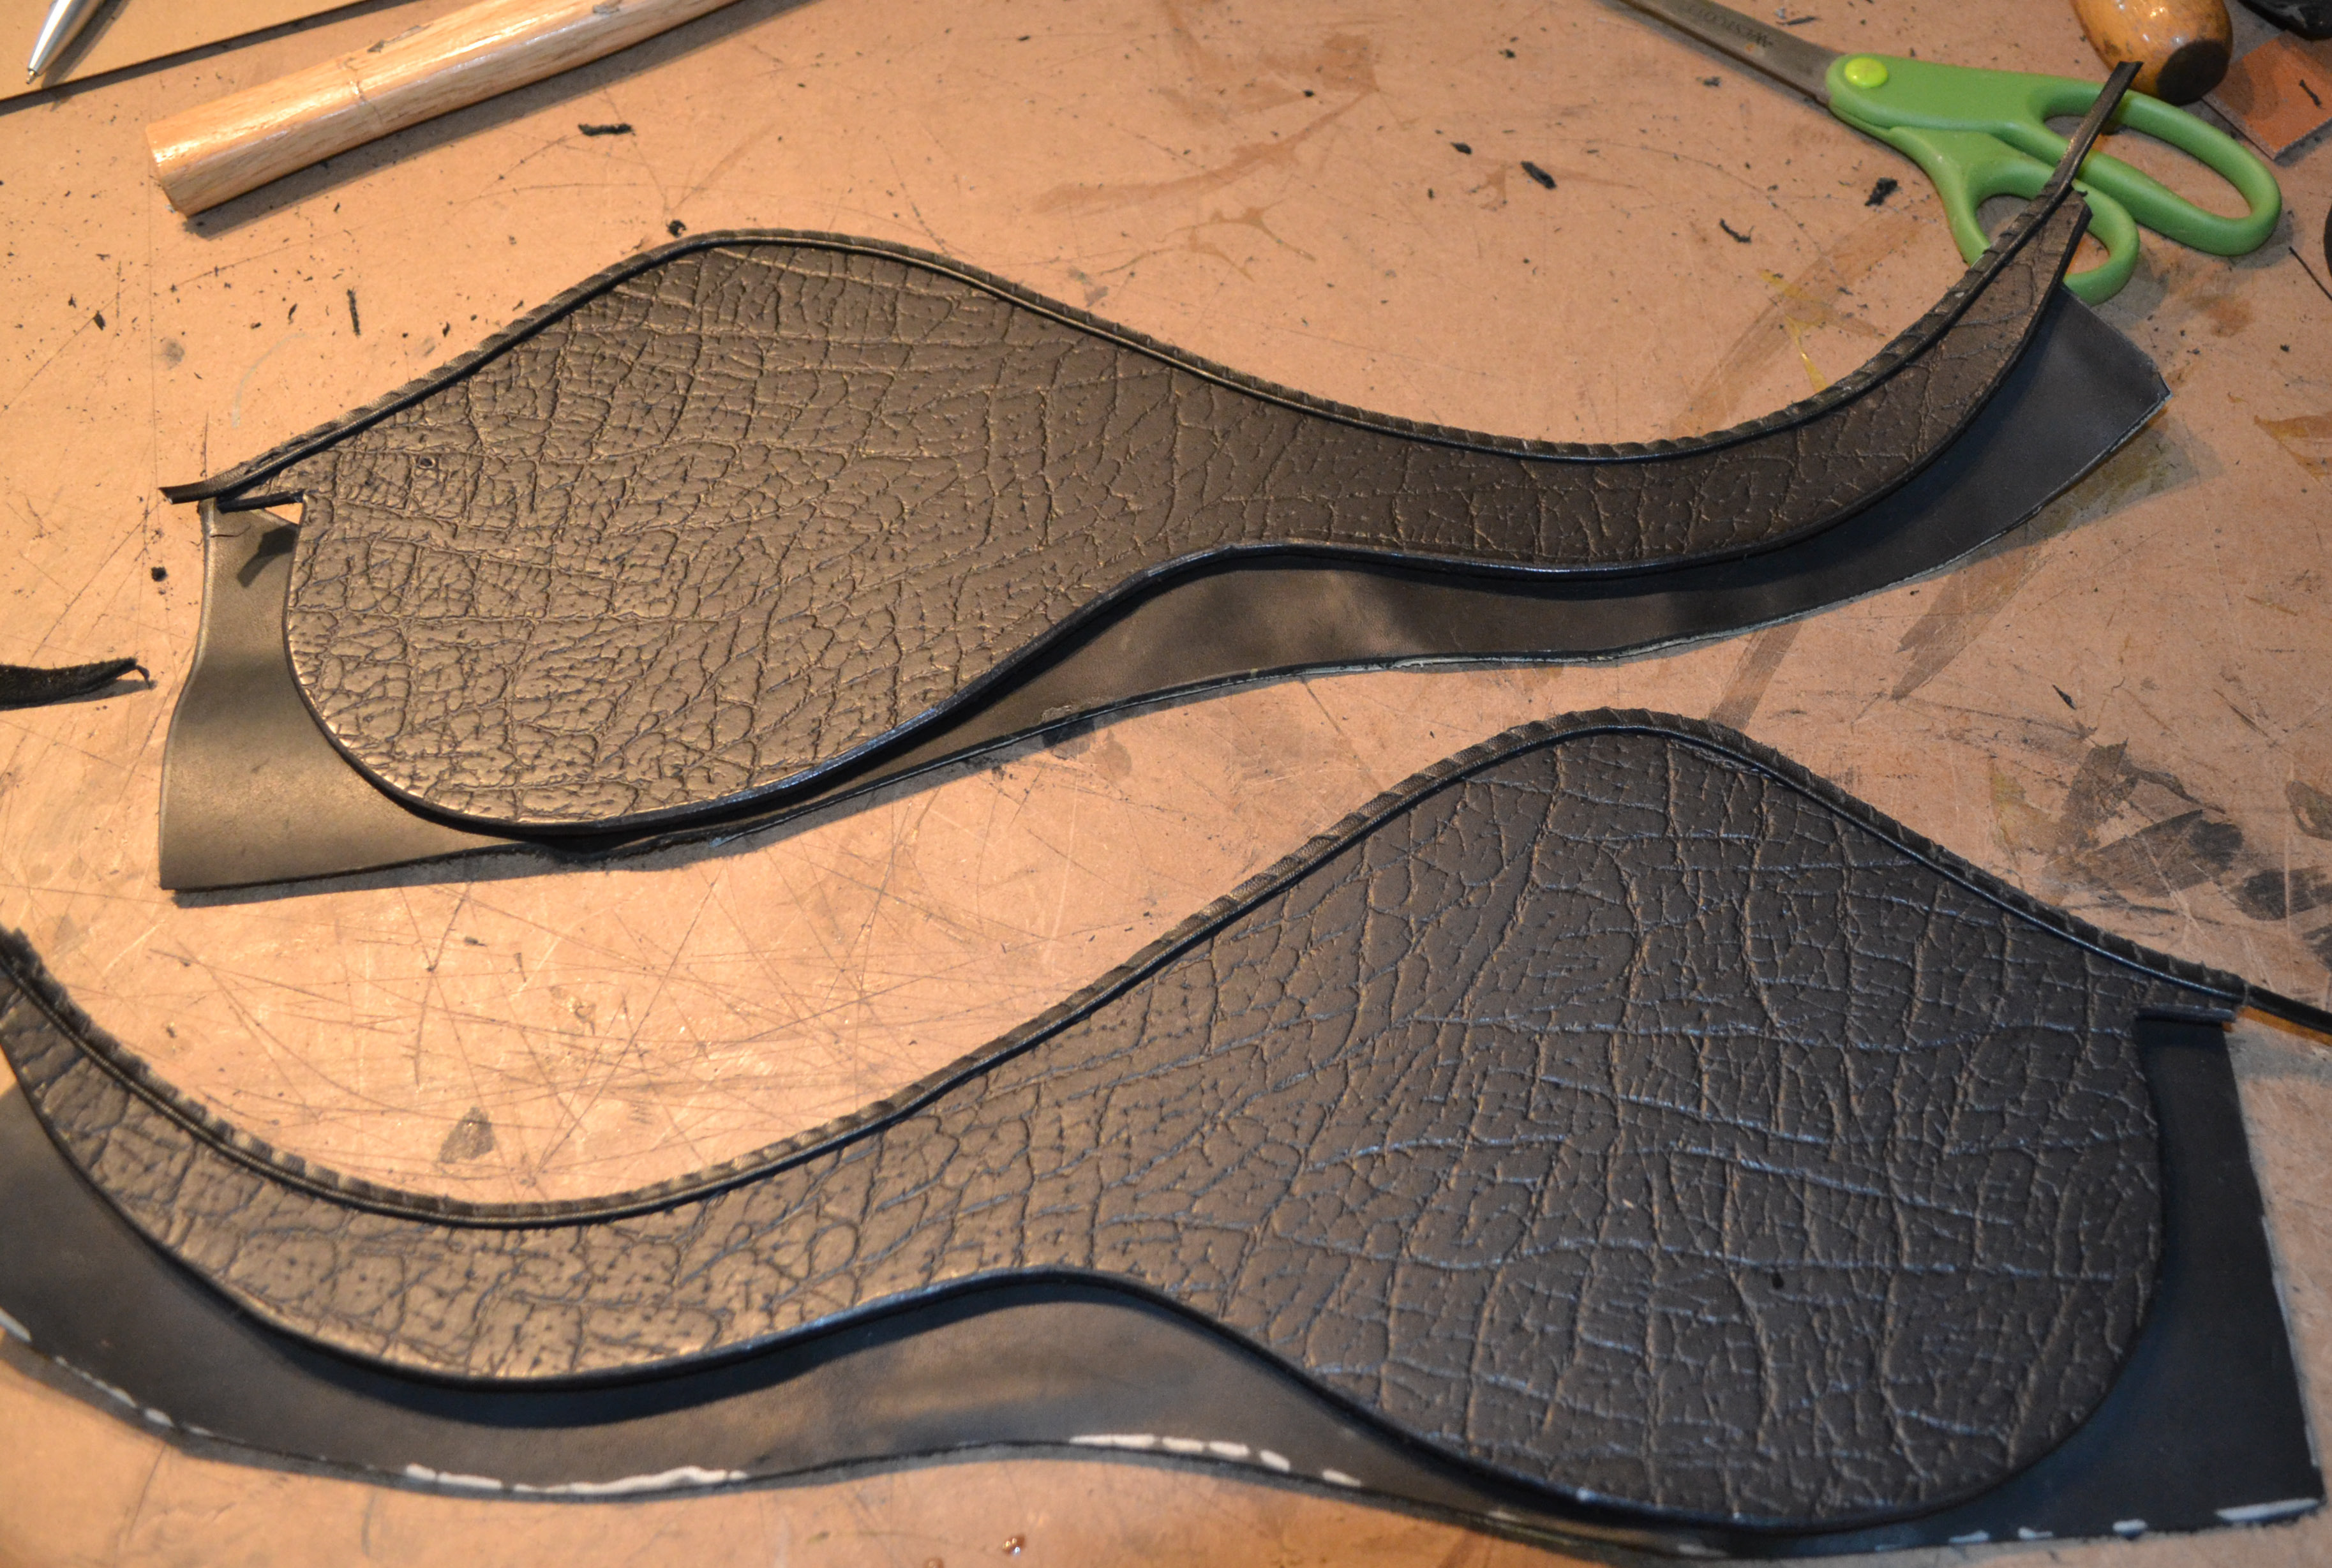
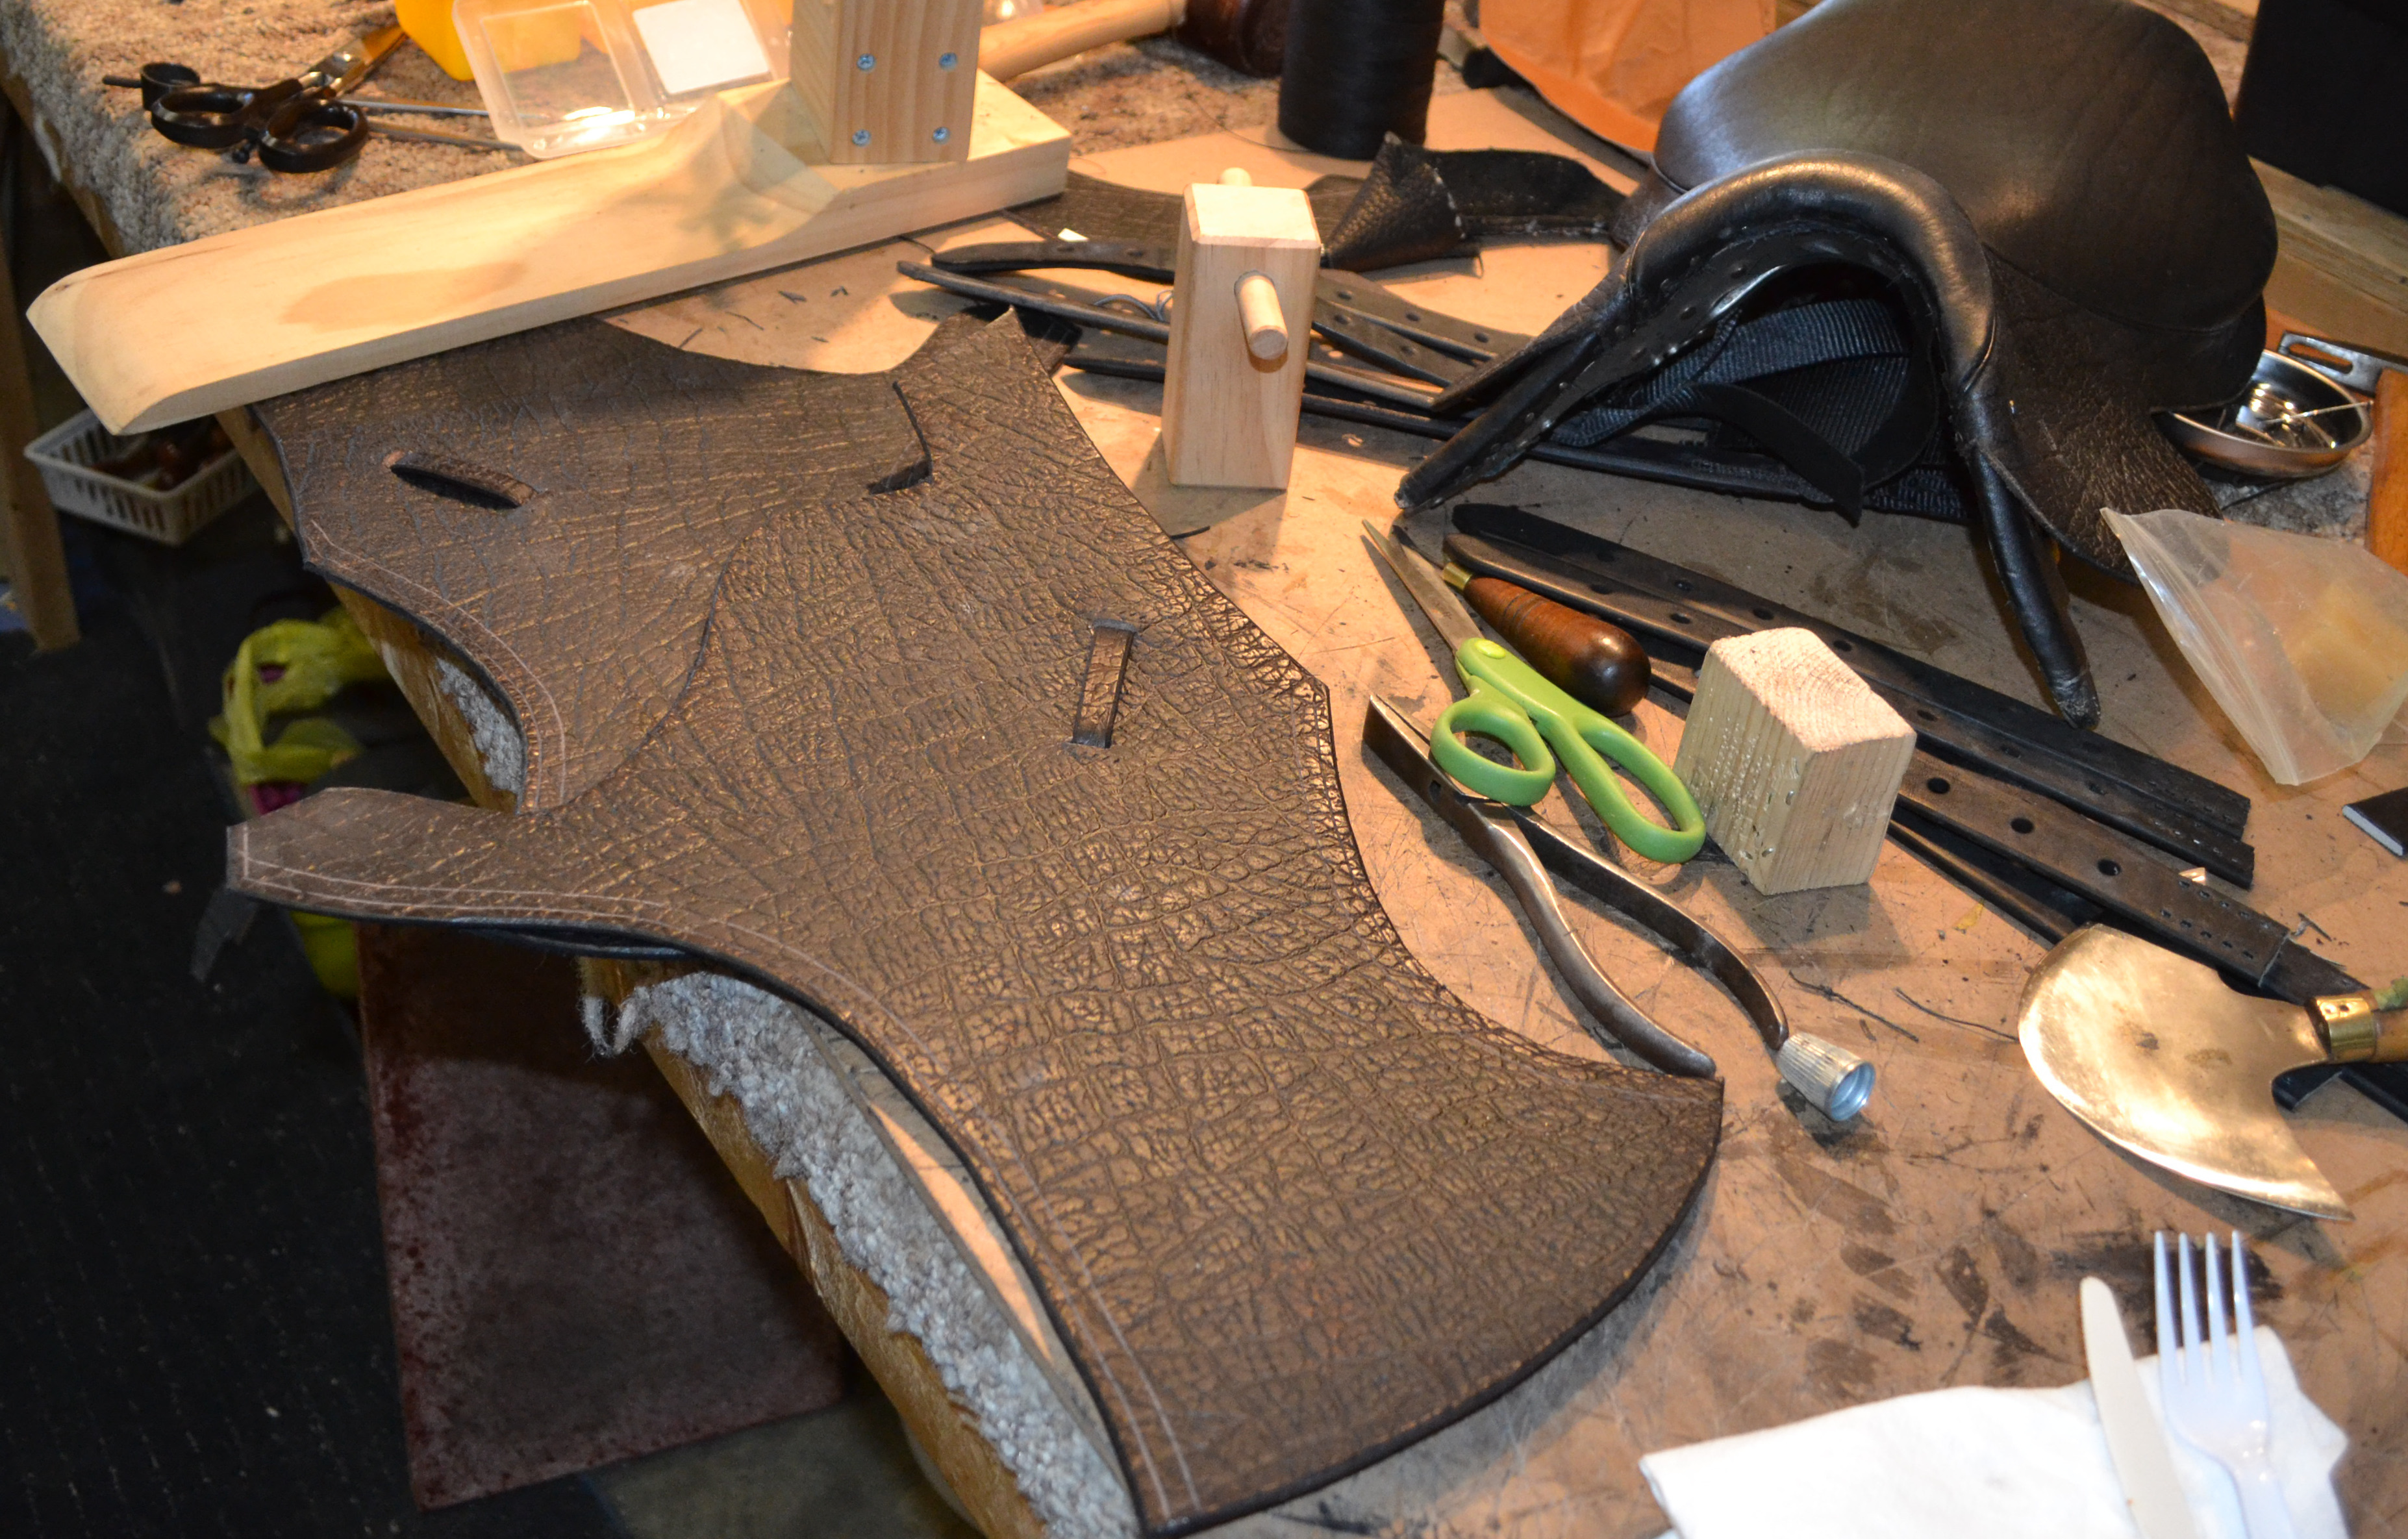
Next, I used a pattern to cut the skirts or jockey flaps as some call them. Let me tell you that cutting the stiff buffalo was no easy task with the round knife. Then it needed edging, dying, buffing and checking the fit against the tree. The matching welting then needed to be hand sewn onto the skirt and the seat, another challenging feat through all the layers of leather.

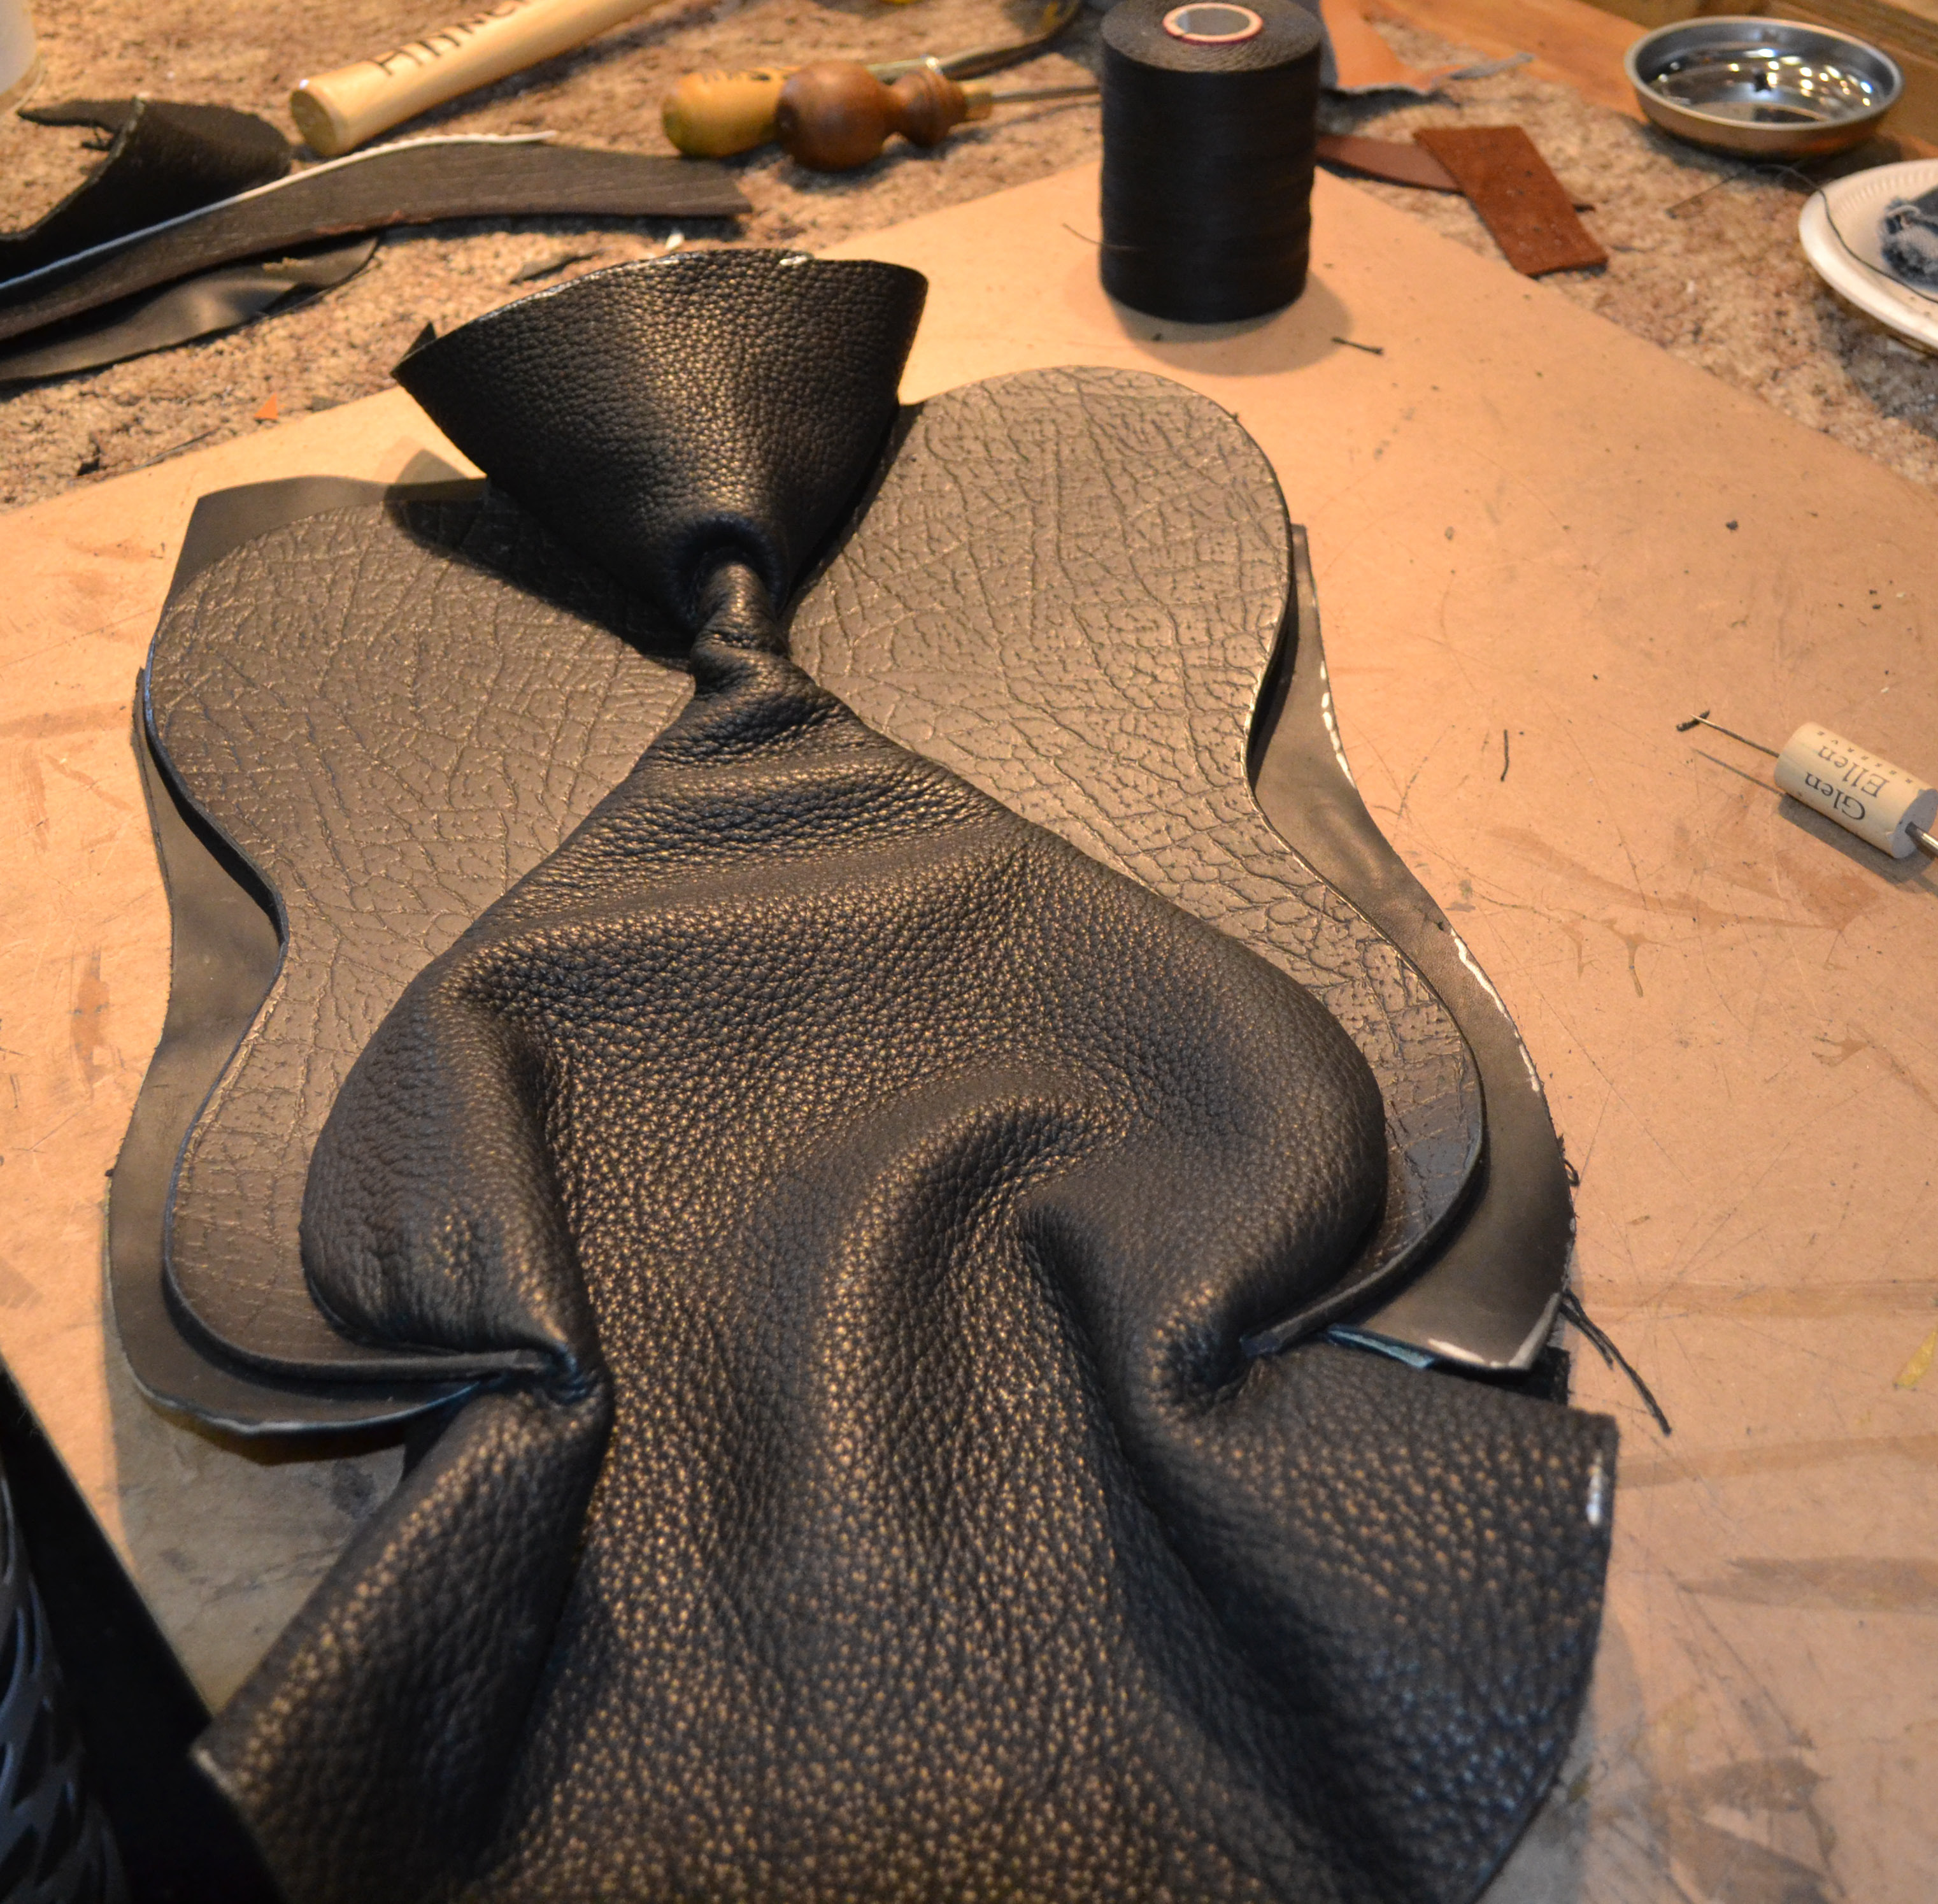
When that task was finally accomplished, I re-tacked the seat onto the tree and the pulling and stretching began so that the leather was tight without any noticeable wrinkles and as smooth as possible behind the cantle.
The next step was cutting the flaps from a pattern, again, edging, dying and buffing, cutting the openings for the billet keepers that I also made and stitching them. From there I cut out my foam for the knee pads and rear pads and the leather and glued them. That is as far as I got!
I have to say, it took much longer than I thought it would but learning what it takes to construct a saddle from the tree up makes one appreciate the workmanship that goes into a well-made saddle.